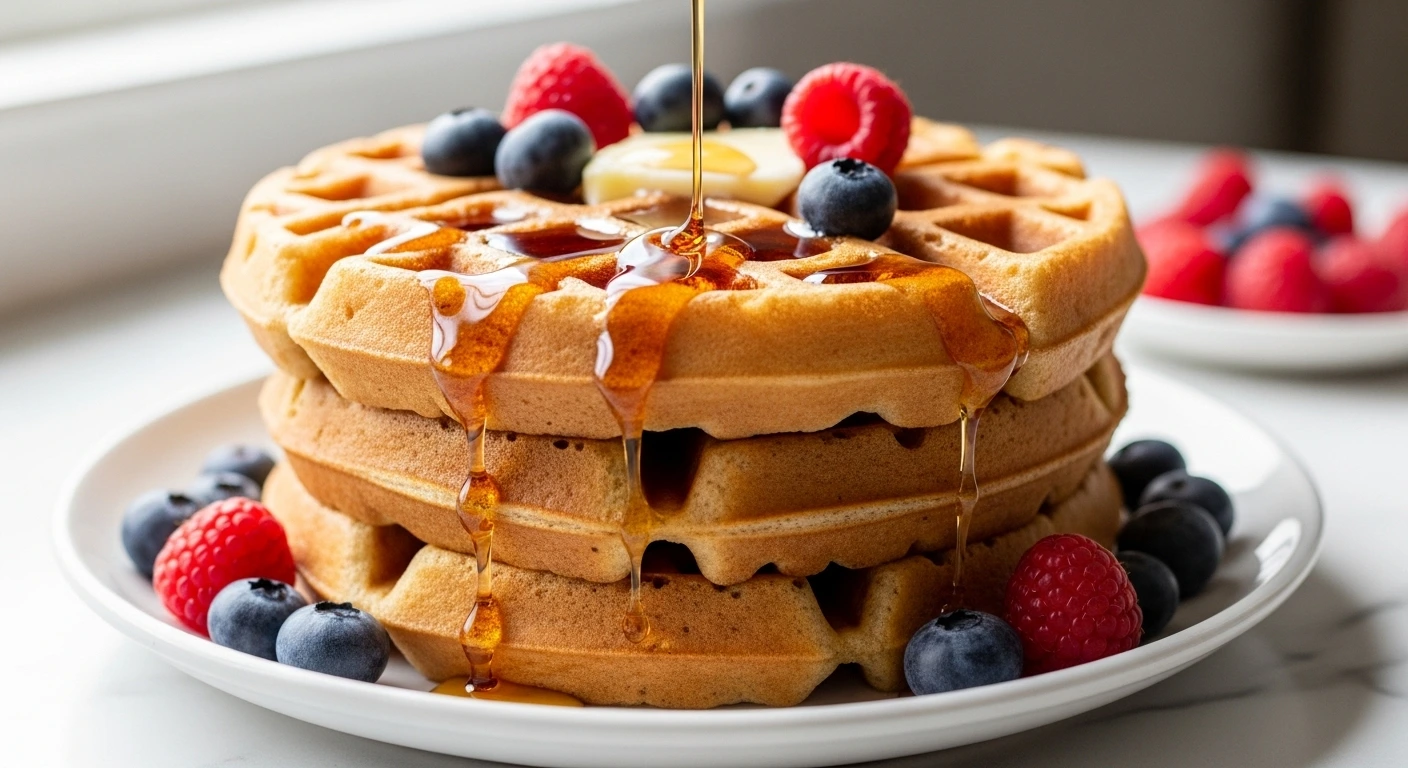
Gluten Free Waffle Recipe
Quick Gluten Free Waffle Recipe ready in 15 minutes. Crispy outside, fluffy inside. Perfect for celiac-friendly breakfasts!
Published: Oct 17, 2025 | By Ilyas Siaghy
Finding a breakfast that everyone at the table can enjoy isn’t always easy, especially when gluten-free eating is involved. That’s exactly why this Gluten Free Waffle Recipe has become such a staple in my kitchen. The first time I made these waffles, I was simply hoping for something that wouldn’t be dense or crumbly. Instead, I ended up with waffles that were golden on the outside, fluffy on the inside, and so delicious that nobody could tell they were gluten-free.
There’s something special about waking up to the smell of fresh waffles cooking on a lazy weekend morning. This Gluten Free Waffle Recipe delivers all the classic texture and flavor you expect from traditional waffles while using gluten-free ingredients that make it suitable for a wider range of diets. Whether topped with fresh berries, maple syrup, whipped cream, or a pat of butter, these waffles always feel like a treat.
What I love most about this recipe is its reliability. It comes together with simple pantry staples, cooks up beautifully every time, and freezes well for busy mornings. It’s the kind of recipe you can make for family brunches, holiday breakfasts, or meal prep without worrying about sacrificing flavor or texture.
If you’re looking for the best Gluten Free Waffle Recipe, you’ve come to the right place. These homemade waffles are light, crispy, and incredibly satisfying, the perfect way to start your day while keeping breakfast completely gluten-free.
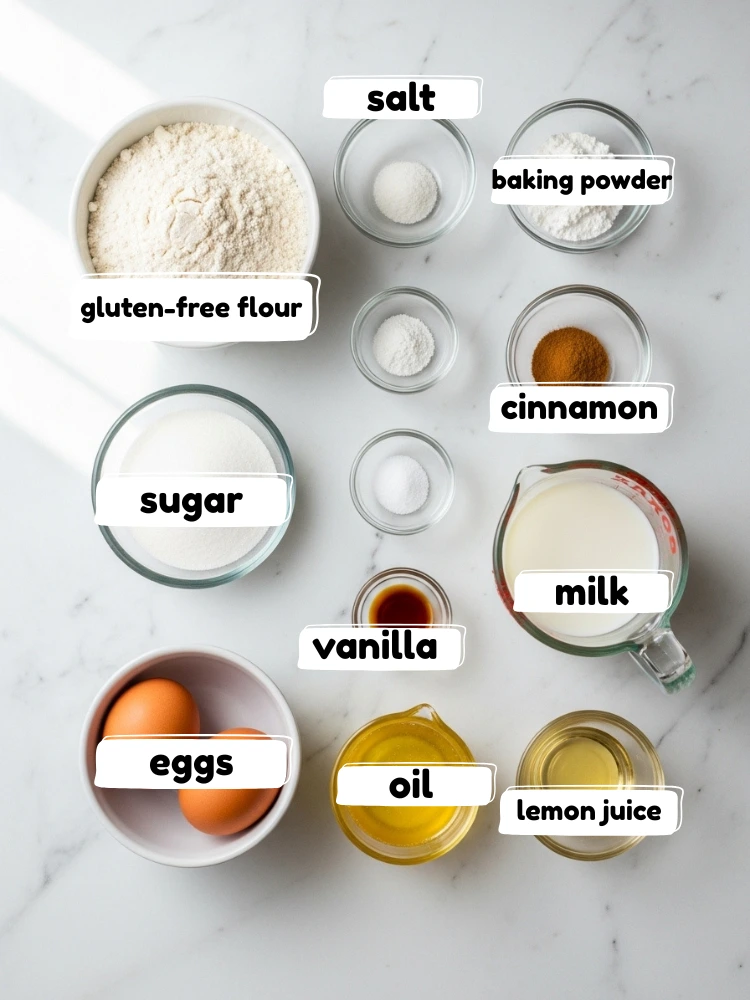
Ingredients
Dry Ingredients:
- 1½ cups gluten free all-purpose flour blend
- 2 tablespoons granulated sugar
- 2 teaspoons baking powder
- ½ teaspoon baking soda
- ½ teaspoon salt
- 1 teaspoon cinnamon
Wet Ingredients:
- 2 large eggs
- 1¾ cups milk
- ⅓ cup melted coconut oil or vegetable oil
- 2 teaspoons vanilla extract
- 1 tablespoon apple cider vinegar or lemon juice
Equipment You’ll Need:
- Waffle iron (Belgian-style or traditional)
- Large mixing bowl
- Medium mixing bowl
- Whisk
- Measuring cups and spoons
- Ladle or ¼ cup measure
Pro tip: The apple cider vinegar reacts with the baking soda to create extra lift, giving you those perfectly fluffy waffles without gluten’s natural structure.
How to Make Gluten Free Waffles (Step by Step)
Step 1: Preheat Your Waffle Iron (1 minute)
Turn on your waffle iron to medium-high heat while you prepare the batter. This ensures it’s perfectly hot when you’re ready to cook, which is crucial for achieving that crispy exterior.
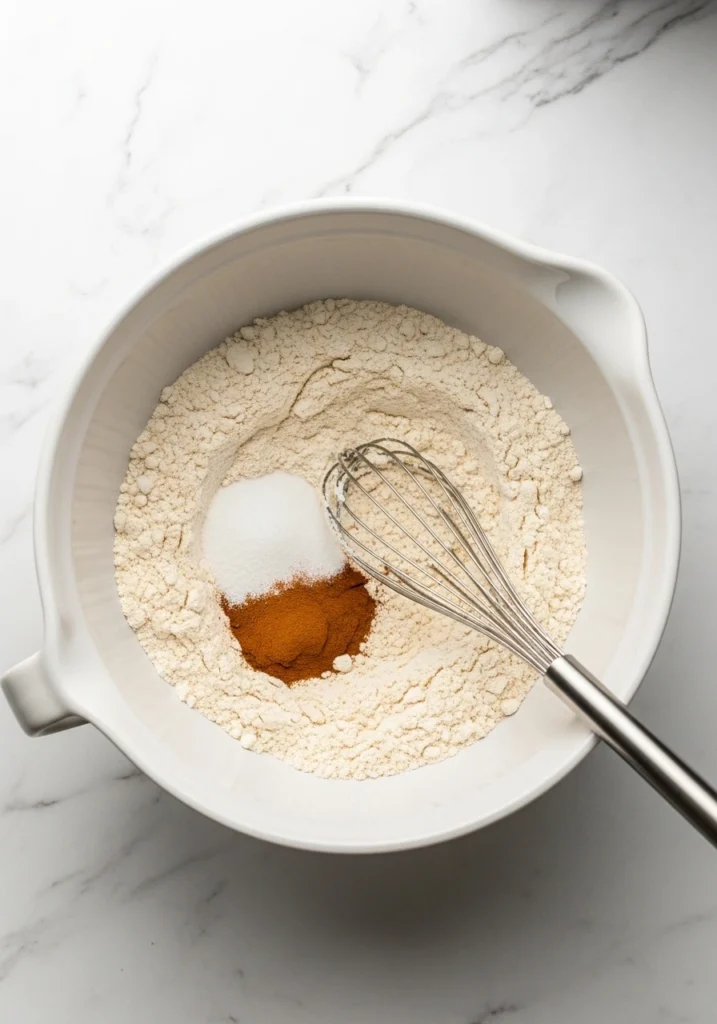
Step 2: Mix the Dry Ingredients (2 minutes)
In your large mixing bowl, whisk together the gluten free flour, sugar, baking powder, baking soda, salt, and cinnamon. Make sure everything is thoroughly combined—no flour pockets hiding at the bottom! This step ensures even distribution of leavening agents, which is especially important in gluten free baking.
Step 3: Combine the Wet Ingredients (2 minutes)
In your medium bowl, whisk together the eggs until slightly frothy. Add the milk, melted oil, vanilla extract, and apple cider vinegar. Whisk until everything is well incorporated and you have a uniform mixture.
Important note: If you’re using coconut oil and it solidifies when mixed with cold milk, don’t panic! Just make sure your milk is at room temperature, or gently warm it for 15 seconds in the microwave.

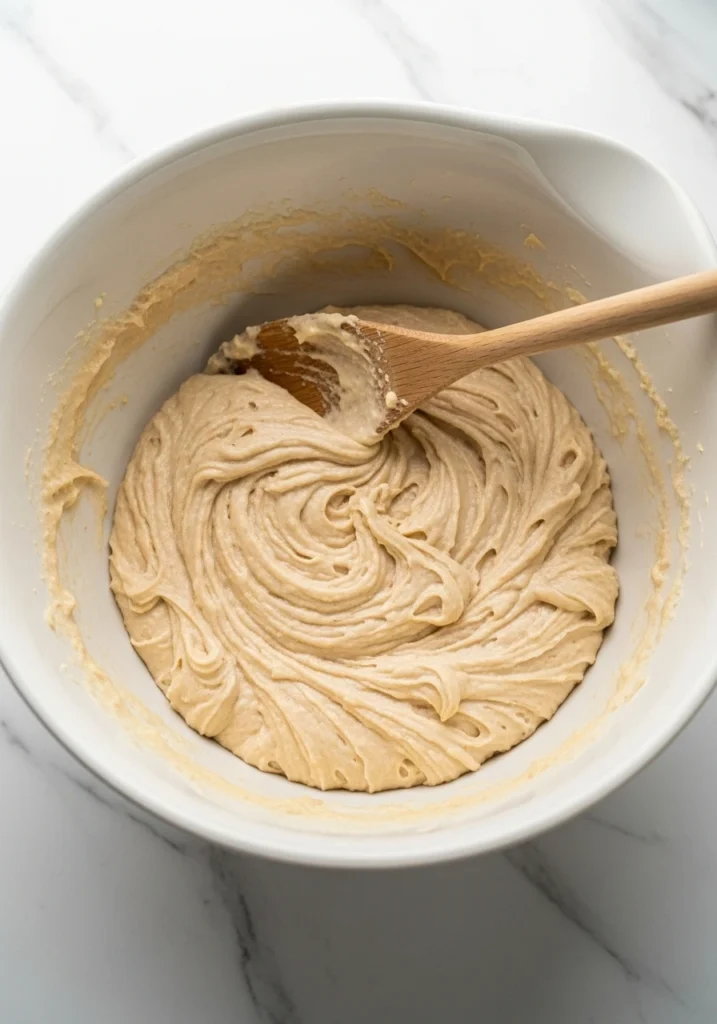
Step 4: Create the Perfect Batter (2 minutes)
- Pour the wet ingredients into the dry ingredients. Using a whisk or wooden spoon, gently fold everything together until just combined. The batter should be slightly lumpy, overmixing creates tough waffles, whether they’re gluten free or not.
- The consistency should be pourable but thick, similar to pancake batter. If it seems too thick, add milk one tablespoon at a time. Too thin? Add a tablespoon of gluten free flour.
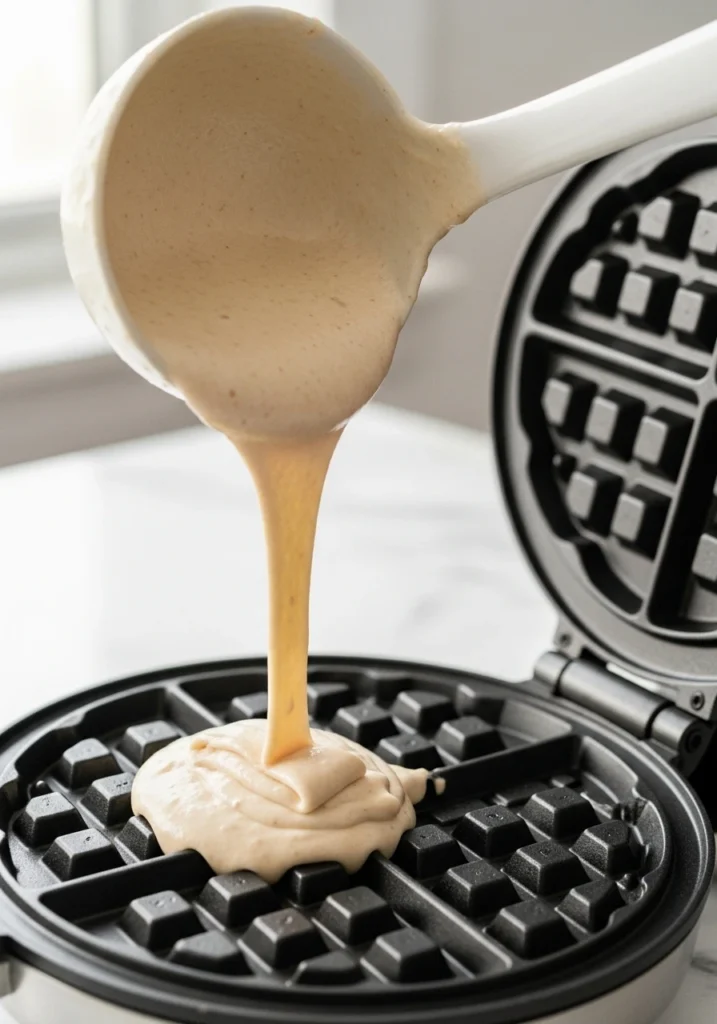
Step 5: Cook Your Gluten Free Waffles (8 minutes)
- Lightly spray or brush your waffle iron with oil, even if it’s nonstick. This ensures easy release and promotes that golden-brown crust.
- Pour approximately ½ to ¾ cup of batter onto the center of your waffle iron (amount varies by waffle maker size). Close the lid and cook for 4-5 minutes, or until the steam stops escaping and your waffle iron indicates it’s done.
- Carefully remove the waffle using a fork or silicone-tipped tongs. Place on a wire rack rather than stacking them directly, this keeps them crispy while you finish the batch.
- Repeat with remaining batter. This recipe makes approximately 6-8 waffles, depending on your waffle iron size.
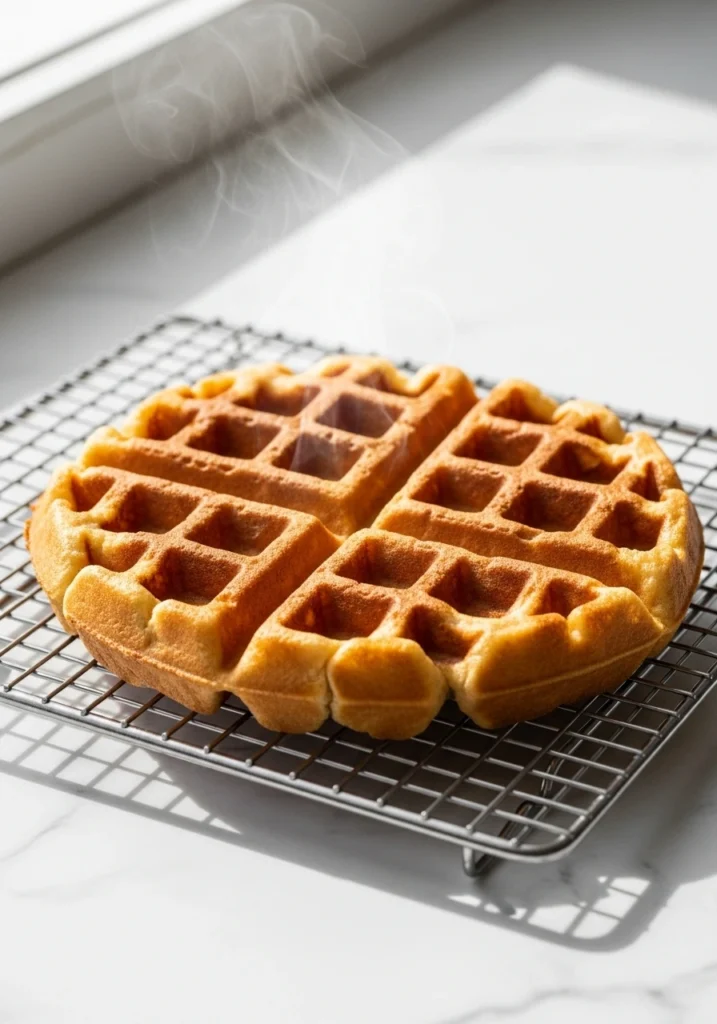
Pro Tips for the Best Gluten Free Waffles
Getting That Perfect Crispy Texture
If you want gluten-free waffles that are actually crispy and not sad or soggy, a little fat in the batter goes a long way. Oil or melted butter helps the waffles brown beautifully while keeping the inside tender. Another simple trick is letting the batter rest for about five minutes, this gives the gluten-free flour time to hydrate and smooth out. Make sure your waffle iron is fully heated to medium-high, and don’t be shy about lightly greasing it between batches for best results.
Why Batter Resting Really Matters
Gluten-free batters behave a bit differently than regular ones, and rushing them can affect texture. Letting the batter sit allows the flours and starches to absorb liquid properly, which leads to waffles that hold together better. You’ll notice they cook more evenly and release more easily from the iron. It’s a small step, but one that makes a big difference in the final bite.
Making Gluten-Free Dairy-Free Waffles
Turning these waffles dairy-free is easier than you might think and doesn’t sacrifice flavor at all. Simply swap regular milk for your favorite plant-based option like almond, oat, coconut, or soy milk. Instead of butter, use coconut oil or a neutral vegetable oil for the same richness. The waffles still come out crisp on the outside, fluffy on the inside, and just as satisfying.
Delicious Variations to Try
Sweet Variations:
- Chocolate Chip: Fold in ½ cup mini chocolate chips to the batter
- Blueberry Bliss: Add 1 cup fresh or frozen blueberries
- Banana Walnut: Mix in 1 mashed banana and ½ cup chopped walnuts
- Pumpkin Spice: Add ½ cup pumpkin puree and 1 teaspoon pumpkin pie spice (reduce milk by ¼ cup)
Savory Options:
- Cheddar Herb: Omit sugar, add ¾ cup shredded cheddar and 2 tablespoons fresh herbs
- Everything Bagel: Top with everything bagel seasoning before closing the waffle iron
- Bacon Cheddar: Fold in crumbled cooked bacon and sharp cheddar
How to Store and Reheat Gluten Free Waffles
Short-Term Storage (2–3 Days)
Once your waffles are cooked, let them cool completely on a wire rack—this keeps them from getting soggy. Store them in an airtight container in the refrigerator, layering parchment paper between each waffle so they don’t stick together. This method keeps them fresh, tender, and ready for quick breakfasts. Perfect if you plan to enjoy them within a couple of days.
Freezer Storage (Up to 3 Months)
Gluten-free waffles are amazing for meal prep, and freezing them properly makes all the difference. After cooling, place the waffles in a single layer on a baking sheet and freeze for about an hour. Once frozen solid, transfer them to a freezer-safe bag or container and label with the date. Freezing them individually first means you can grab one or two at a time, no wrestling with stuck-together waffles.
Reheating Waffles for Best Results
The toaster is hands-down the best way to reheat frozen waffles and bring back that crispy outside. Pop them straight in on medium-high and toast for two to three cycles until hot and golden. If you’re reheating several at once, the oven works great at 350°F for 5–7 minutes. For busy mornings, the microwave is fastest (30–60 seconds), while the air fryer at 350°F for 3–4 minutes gives you that fresh-made crunch.
How to Serve Gluten Free Waffles
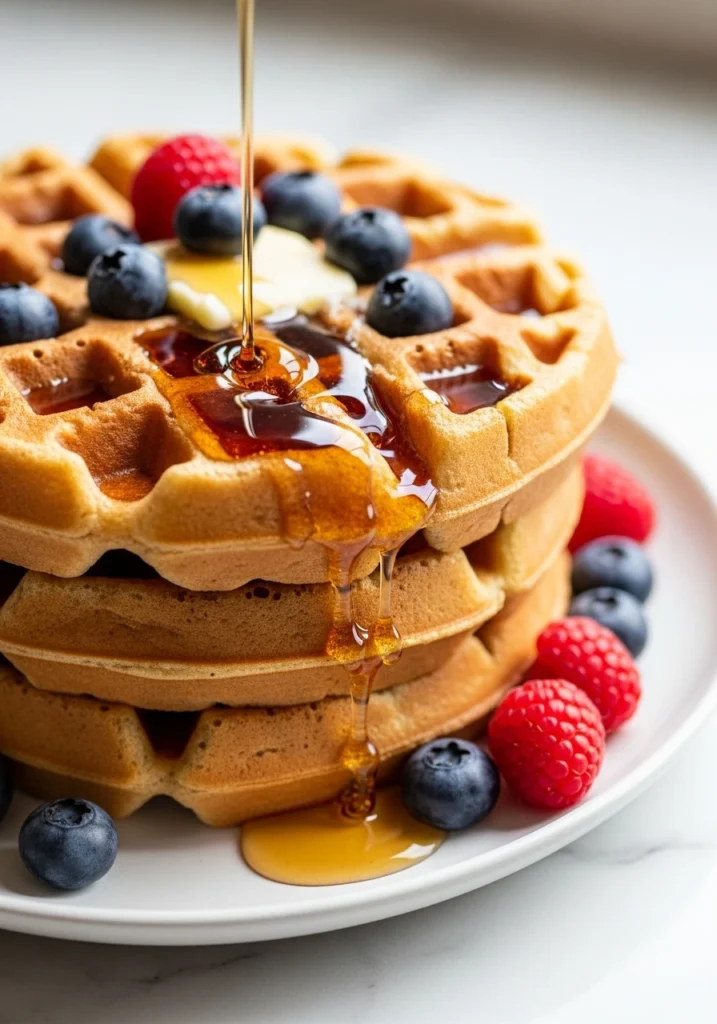
Gluten free waffles are incredibly versatile and easy to serve for any time of day, whether you’re making a quick breakfast or a relaxed weekend brunch. For a classic option, top them with warm maple syrup, fresh berries, and a dusting of powdered sugar. If you like a little protein, serve gluten free waffles with Greek yogurt, nut butter, or a dollop of whipped cream. They also pair beautifully with sliced bananas, caramelized apples, or sautéed peaches for a cozy, homemade feel. For a savory twist, try serving them with crispy bacon, sausage, or a fried egg on top. You can even turn them into a fun waffle sandwich with honey, almond butter, or chocolate spread. For brunch gatherings, set up a waffle topping bar so everyone can customize their plate. These gluten free waffles are just as delicious fresh off the iron or reheated for busy mornings. No matter how you serve them, they’re a comforting, crowd-pleasing favorite.
Pairings and Menu Recipe Ideas
Gluten Free Waffle Recipe FAQs
Can I use a different gluten free flour blend?
Yes! However, results may vary slightly depending on the blend. Look for a gluten free all-purpose flour that includes xanthan gum or guar gum. Single-grain flours like almond flour or coconut flour won’t work as a 1:1 substitute—they have very different absorption properties.
Why are my gluten free waffles soggy?
Soggy waffles usually result from one of three issues:
- Undercooking: Let them cook the full time until steam stops escaping
- Stacking while hot: Always cool on a wire rack, not stacked on a plate
- Too much liquid: Make sure you’re measuring flour correctly (spoon and level, don’t pack)
Can I make the batter ahead of time?
You can mix the dry ingredients up to a week ahead and store in an airtight container. However, once you add the wet ingredients, cook the waffles within 30 minutes for best results. The leavening agents start working immediately, and you’ll lose some of that fluffy texture if you wait too long.
Are these waffles suitable for celiac disease?
Yes! As long as you use certified gluten free ingredients and avoid cross-contamination in your kitchen. Check that your baking powder, flour blend, and any add-ins are certified gluten free. Even traces of gluten can be problematic for those with celiac disease.
How do these compare to regular waffles?
Honestly? Most people can’t tell the difference! The texture is slightly more tender than traditional waffles, but the taste is just as delicious. The key is not overmixing the batter and cooking them thoroughly.
Can I double this recipe?
Absolutely! This recipe doubles and even triples beautifully. It’s perfect for meal prep Sundays or feeding a crowd. Just make sure you have storage containers ready for any extras.
What if I don’t have apple cider vinegar?
Lemon juice works equally well! You can also use white vinegar in a pinch. This acid is essential, it reacts with the baking soda to create lift and helps activate the leavening agents.
More Easy Baking Recipes
- Sourdough English Muffins
- Belgian Waffle Recipe Without Milk
- Pumpkin Bagels
- Fluffy German Chocolate Rolls
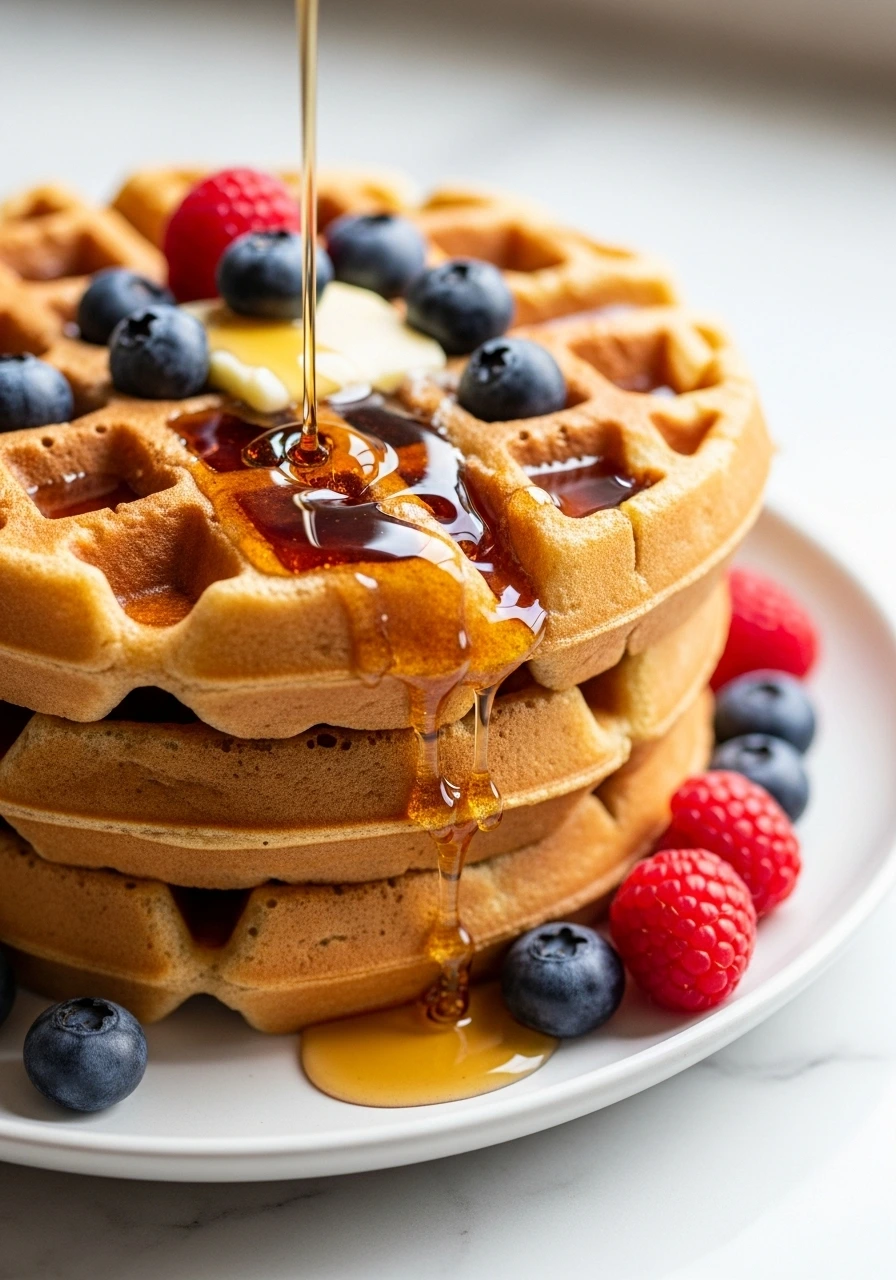
Gluten Free Waffle Recipe Made in 15 Minutes
Ingredients
Equipment
Method
- Turn on your waffle iron to medium-high heat and allow it to fully preheat while you prepare the batter. This ensures even cooking and crispy results.
- In a large mixing bowl, whisk together the gluten free flour, sugar, baking powder, baking soda, salt, and cinnamon (if using) until thoroughly combined with no flour pockets remaining.
- In a medium bowl, whisk the eggs until slightly frothy. Add the milk, melted oil, vanilla extract, and apple cider vinegar. Whisk until well incorporated and uniform.
- Pour the wet ingredients into the dry ingredients. Gently fold together with a whisk or wooden spoon until just combined. The batter should be slightly lumpy and thick but pourable. Do not overmix. If batter seems too thick, add milk 1 tablespoon at a time. If too thin, add 1 tablespoon gluten free flour.
- Lightly spray or brush your preheated waffle iron with oil. Pour 1/2 to 3/4 cup of batter onto the center of the waffle iron (amount varies by waffle maker size). Close the lid and cook for 4-5 minutes, or until steam stops escaping and your waffle iron indicates it's done. Do not open the waffle iron early or the waffle may tear.
- Carefully remove the waffle using a fork or silicone-tipped tongs. Place on a wire cooling rack to keep crispy while you cook the remaining waffles. Do not stack hot waffles directly on a plate as this creates sogginess.
- Repeat with remaining batter, greasing the waffle iron lightly between each waffle. Serve immediately with your favorite toppings or allow to cool completely before storing.