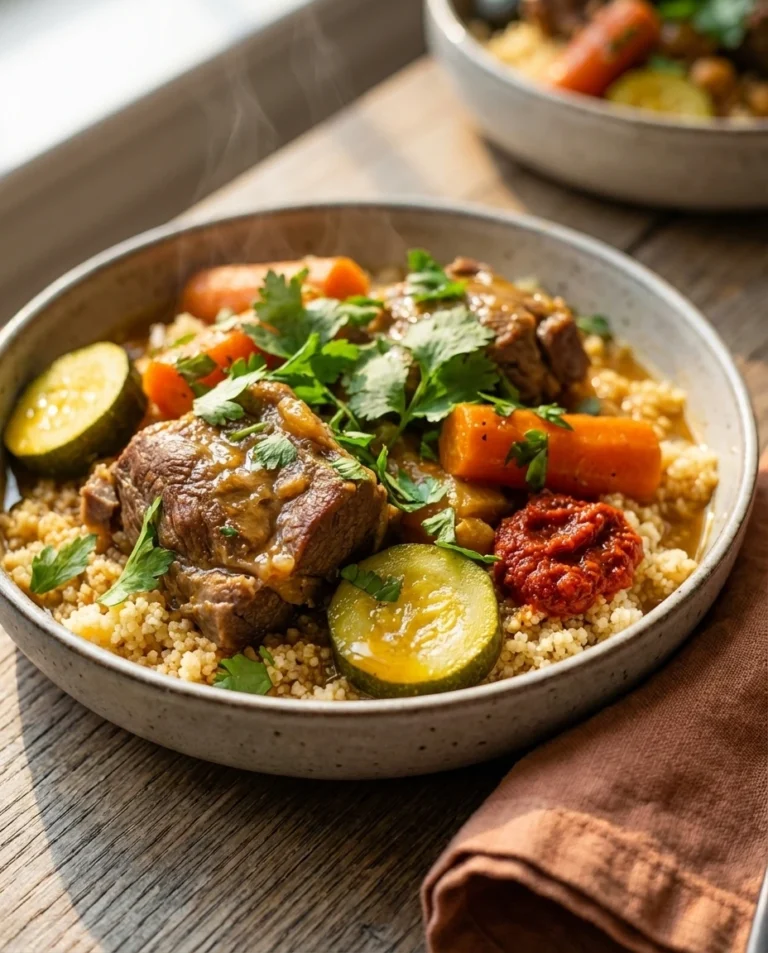
Instant Pot Yogurt Recipe
Make rich, creamy mediterranean greek instant pot yogurt recipe with just 2 ingredients, hands-off process, and a fraction of store-bought cost. Step-by-step guide below!
Published: May 26, 2026 | By Ilyas Siaghy
There’s something incredibly satisfying about making your own yogurt at home, especially when it turns out thick, creamy, and full of that rich Mediterranean Greek flavor. The first time I tested this Instant Pot Yogurt Recipe, I honestly didn’t expect it to become a weekly staple in my kitchen. I had always bought expensive tubs of Greek yogurt from the store, thinking homemade yogurt would be complicated or inconsistent. But once I discovered how easy it is to make yogurt in the Instant Pot, everything changed.
Now, this Instant Pot Yogurt Recipe is one of my favorite meal prep recipes because it uses simple ingredients, requires very little hands-on work, and creates the most luxurious homemade yogurt every single time. The texture is smooth, creamy, and perfectly tangy, exactly like authentic Mediterranean Greek yogurt you’d serve with fresh fruit, honey, granola, or savory mezze dishes.
What I love most about this homemade Instant Pot yogurt recipe is how customizable and budget-friendly it is. You can make a large batch for a fraction of the cost of store-bought yogurt while avoiding unnecessary additives and preservatives. Whether you’re new to homemade yogurt or already obsessed with Mediterranean recipes, this easy Instant Pot Yogurt Recipe will quickly become a must-have in your kitchen routine.
Tools You’ll Need
- Instant Pot Duo 7-in-1 (6qt)
- Instant Read Kitchen Thermometer
- Cheesecloth (reusable grade)
- Ball Wide Mouth Glass Mason Jars
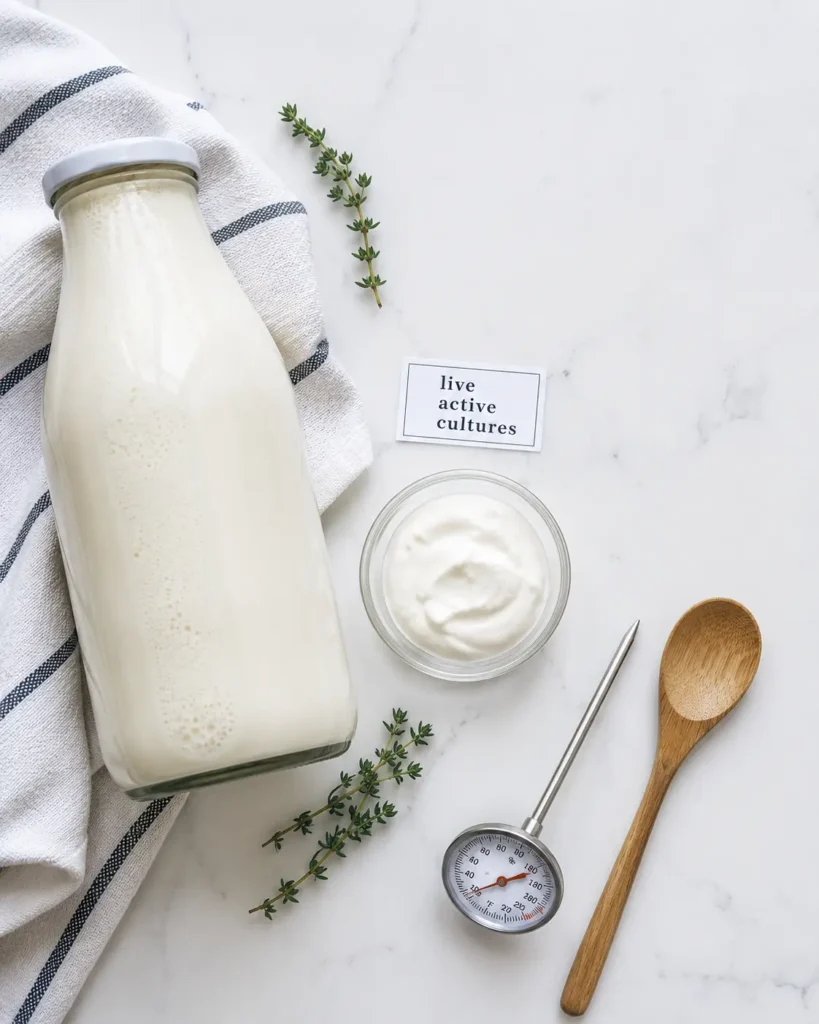
Ingredients for Instant Pot Yogurt
For the Yogurt:
- 1 gallon (3.8 liters) whole milk, full-fat is highly recommended for the creamiest result. Whole milk gives you that rich, Mediterranean-style texture. 2% milk works but yields a thinner yogurt.
- 2 tablespoons plain yogurt with live active cultures, this is your starter. Check the label for “live and active cultures.” Any plain yogurt works; Greek yogurt, regular yogurt, or even a small packet of yogurt starter powder (available at health food stores or online).
Optional (for serving):
- Honey, fresh berries, cucumber, olive oil, za’atar, or granola
Ingredient Tip: Always use the freshest milk you have. Ultra-pasteurized milk (UHT) can sometimes yield a thinner yogurt, look for regular pasteurized whole milk if possible. Most grocery store brands work perfectly.
How to Make Yogurt in Instant Pot (Step by Step)
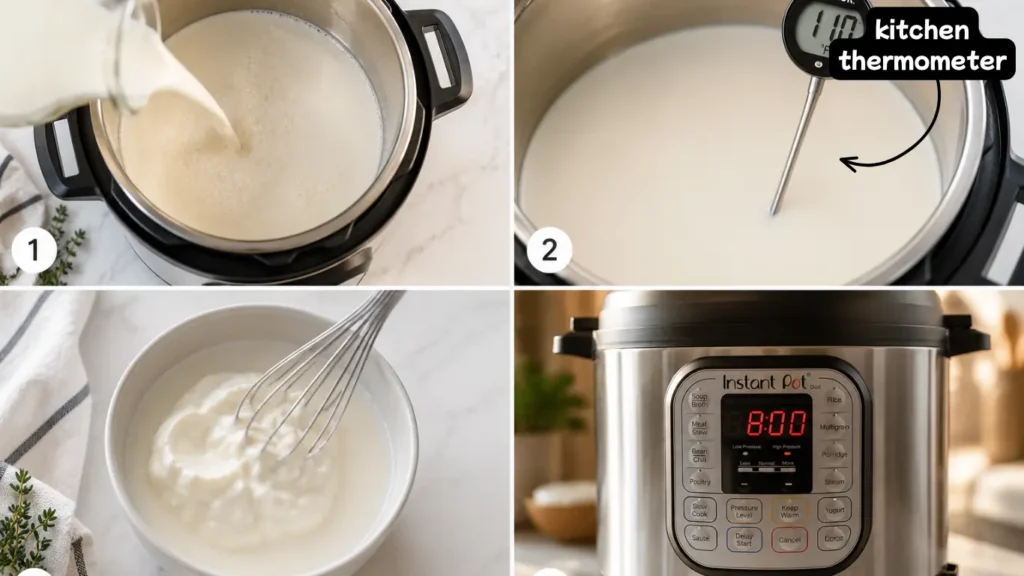
Step 1: Heat the Milk
- Pour the entire gallon of whole milk into your Instant Pot. The star of the show, the 6-quart is ideal for a gallon of milk. Make sure your model has the Yogurt button (most Duo models do).
- Secure the lid and make sure the steam release valve is set to “Venting” (not Sealing, you don’t want pressure here).
- Press the “Yogurt” button, then press it again until the display reads “Boil.”
- The Instant Pot will heat the milk and automatically stop when it reaches the correct temperature (~180°F / 82°C). This typically takes 25–35 minutes depending on your model.
- Once the “Boil” cycle finishes, the pot will beep and display “Yogt” or similar. Don’t skip this step, heating to 180°F denatures the milk proteins, which is what creates thick, creamy yogurt.
Step 2: Cool the Milk
- Carefully remove the inner pot using oven mitts and set it on a cooling rack or heat-safe surface on your counter.
- Allow the milk to cool down to 105–115°F (40–46°C). This is the sweet spot, warm enough to activate your yogurt cultures, but not so hot that it kills them.
- Use a kitchen thermometer to check, I use an instant-read thermometer to make sure the milk cools properly before adding the starter. This step usually takes 45 minutes to 1 hour at room temperature. You can speed it up by placing the pot in a cold water bath in your sink.
- As the milk cools, a skin may form on top. You can either stir it back in or skim it off, either way is fine.
Beginner Tip: Don’t skip the thermometer here. If your milk is too hot when you add the starter, the cultures will die and your yogurt won’t set. Too cool, and the cultures won’t activate properly. The 105–115°F range is your magic window.
Step 3: Add the Yogurt Starter
- In a small bowl, scoop out about 1 cup of the cooled warm milk.
- Add your 2 tablespoons of plain yogurt with live active cultures to the cup of milk.
- Whisk together until completely smooth, no lumps.
- Pour this mixture back into the inner pot with the rest of the milk.
- Gently stir everything together with a large spoon or silicone spatula to distribute the starter evenly throughout.
Step 4: Incubate (The Important Step!)
- Return the inner pot to your Instant Pot base.
- Secure the lid (valve can remain on Venting or Sealing, it doesn’t matter during incubation since no pressure or heat is generated).
- Press the “Yogurt” button. The display should show “8:00” (8 hours) by default. You can adjust the time, 8 hours gives a mild, creamy yogurt; 10–12 hours produces a tangier, thicker yogurt.
- Press Start (or it may start automatically depending on your model).
- Walk away. The Instant Pot maintains the perfect incubation temperature all on its own. Go to sleep, run errands, do whatever you need to do.
- When incubation is complete, the pot will beep. Your yogurt will look jiggly and set, like a loose panna cotta. That’s exactly right!
Pro Tip: Resist the urge to stir or check on the yogurt during incubation. Every time you open the lid, you risk disrupting the culturing process.
Step 5: Strain for Greek-Style Yogurt
This is what transforms regular yogurt into thick, Mediterranean-style instant pot greek yogurt. The straining process removes the liquid whey, concentrating the yogurt into that gloriously dense, spoonable consistency.
- Line a large fine-mesh strainer or colander with 2–3 layers of cheesecloth (or a clean, thin cotton tea towel). Set it over a large bowl deep enough to collect the whey without the strainer touching the liquid.
- Gently ladle or pour the yogurt into the lined strainer. Don’t stir or press it down.
- Cover the top loosely with plastic wrap or a clean towel.
- Refrigerate and let it strain for 2–4 hours for thick Greek yogurt, or overnight (8+ hours) for an ultra-thick yogurt cheese (labneh style).
- The longer you strain, the thicker it gets.
- Once strained to your desired consistency, transfer the yogurt to a clean jar or airtight container.
- Save the whey! The liquid that drains off is protein-rich whey. Use it in smoothies, bread dough, pancakes, or as a liquid in soups and marinades.
Step 6: Serve and Enjoy!
- Give your finished yogurt a gentle stir, it will thicken further as it chills in the refrigerator.
- Serve it your favorite way: drizzled with golden honey and fresh berries for breakfast, layered with granola in a parfait, swirled with olive oil and za’atar for a Mediterranean mezze spread, or dolloped into savory dishes.
- Reserve 2 tablespoons in a small jar before flavoring, this becomes your starter for the next batch!
Pro Tips for Perfect Instant Pot Yogurt
- Always use a thermometer. It removes all guesswork and guarantees consistent results.
- Whole milk = best texture. The fat content creates that signature creaminess. Don’t substitute low-fat milk on your first attempt.
- Check your starter’s expiration date. Yogurt cultures weaken over time. Use fresh yogurt for reliable results.
- Longer incubation = tangier yogurt. Experiment with 8, 10, and 12 hours to find your family’s preferred flavor.
- The pot insert must be completely clean. Any residual soap, grease, or food odors can affect the culturing process. Rinse well before starting.
Variations to Try
- Vanilla Yogurt: Stir in 1 teaspoon pure vanilla extract and 2 tablespoons honey after straining.
- Coconut Milk Yogurt: Substitute with full-fat canned coconut milk (2 cans) for a dairy-free version. Use dairy-free yogurt starter. Results will be slightly less thick.
- Low-Fat Version: Use 2% milk. Expect a thinner consistency, strain longer to compensate.
- Labneh (Yogurt Cheese): Strain overnight until very thick. Roll into balls, coat in herbs, and drizzle with olive oil. Perfect on a charcuterie board!
- Flavored Yogurt: After straining, swirl in fruit compote, lemon curd, or nut butter.
Dietary Considerations
- Gluten-Free: This recipe is naturally gluten-free.
- Vegetarian: Yes, fully vegetarian.
- High Protein: Greek-style (strained) yogurt is significantly higher in protein per serving than regular yogurt, roughly 15–20g per cup.
- Probiotic-Rich: Homemade yogurt made with live cultures is an excellent gut-health food.
- Keto/Low-Carb Friendly: Whole milk Greek yogurt is lower in carbs than many store-bought flavored varieties.
Storage & Make-Ahead Instructions
Refrigerator Storage:
- Store finished yogurt in a clean glass jar or airtight container in the fridge.
- It stays fresh for up to 2 weeks, often longer.
- The yogurt may continue to thicken slightly and develop a bit more tang over the first few days, totally normal and delicious.
Freezer Storage:
- Yes, you can freeze yogurt! Portion it into freezer-safe containers and freeze for up to 3 months.
- Thaw overnight in the refrigerator. Note that freezing can change the texture slightly, making it more crumbly, stir well after thawing, or use frozen yogurt in smoothies and baking where texture is less critical.
Saving Your Starter for Next Batch:
- Before serving (and especially before adding any flavorings), set aside 2 tablespoons in a clean small jar.
- Label it “Yogurt Starter” with the date and keep it in the fridge.
- Use it to start your next batch within 7–10 days for best results.
- You can re-culture the same starter for many cycles, many home yogurt makers have kept the same culture going for years!
No Reheating Needed:
- Yogurt is a cold or room-temperature food. There’s no reheating required.
- If you’re using it in a cooked dish (like a sauce or marinade), add it off the heat or at the very end of cooking to prevent curdling.
FAQs About Instant Pot Yogurt Recipe
Does the Instant Pot have a yogurt button?
Most Instant Pot models, including the Duo, Duo Plus, Ultra, and Pro series, have a dedicated Yogurt button. This button has two functions: “Boil” (to heat the milk) and the timed incubation setting (default 8 hours). If your Instant Pot model does not have a Yogurt button, you can still make yogurt using the “Keep Warm” setting, though temperatures can vary and a thermometer becomes even more important.
How long does Instant Pot yogurt take?
The active prep time is only about 10–15 minutes, but the full process takes approximately 10–14 hours from start to finish, mostly hands-off. The milk heating takes 30–35 minutes, cooling takes 45–60 minutes, incubation takes 8–12 hours (overnight is ideal), and straining takes 2–4 hours for thick Greek-style yogurt.
Why didn’t my Instant Pot yogurt set?
The most common reasons yogurt doesn’t set are: milk that was too hot when the starter was added (killing the cultures), a starter that was expired or didn’t contain live active cultures, or the incubation being interrupted. Double-check your milk temperature with a thermometer and always verify the “live and active cultures” label on your starter yogurt.
Can I use ultra-pasteurized milk for Instant Pot yogurt?
You can, but results are less reliable. Ultra-pasteurized (UHT) milk has been heated to a higher temperature than regular pasteurized milk, which changes the protein structure. It often produces a thinner, less consistent yogurt. Regular pasteurized whole milk is strongly preferred for the best results.
What can I use instead of cheesecloth to strain yogurt?
Great alternatives to cheesecloth include: a clean, thin cotton kitchen towel (not terry cloth), a large coffee filter, a thin cotton pillowcase, or a dedicated yogurt strainer (available affordably online). A fine-mesh sieve alone without a lining may work but will let smaller curds through.
How is this different from regular store-bought Greek yogurt?
Homemade instant pot greek yogurt typically has a cleaner, fresher flavor with no additives, thickeners, or preservatives. It tends to be tangier and more complex in flavor. You also control the fat content by choosing your milk and the thickness by controlling straining time. Many people find the texture richer and more satisfying than commercial versions.
Can I make a smaller batch of Instant Pot yogurt?
Yes! You can halve the recipe using half a gallon (8 cups) of milk and 1 tablespoon of starter. The process and timing remain the same. Avoid going below half a gallon, as the milk volume may not be enough to maintain even incubation temperature in most Instant Pot models.
Make It a Mediterranean Moment
One of my favorite things about this instant pot yogurt is how beautifully it lends itself to Mediterranean-style serving. This is the yogurt you’d find on a table in Greece, Lebanon, or Turkey, thick enough to hold a drizzle of golden honey, cool and tangy alongside roasted vegetables, or formed into silky labneh balls rolled in dried herbs and olive oil.
For a simple weekday breakfast bowl: spoon generous amounts of your thick yogurt into a bowl, top with sliced cucumber, a few olives, a drizzle of good extra-virgin olive oil, a pinch of za’atar, and a sprinkle of flaky sea salt. It’s breakfast, lunch, or a mezze side dish, Mediterranean living at its most effortless.
Try These Easy Recipes Next
- Mediterranean Baked Feta Eggs Recipe
- Mediterranean Shrimp Fennel Salad Recipe
- Greek Seasoning Recipe
- Hummus Recipe without Tahini
- Homemade Boursin Cheese Recipe
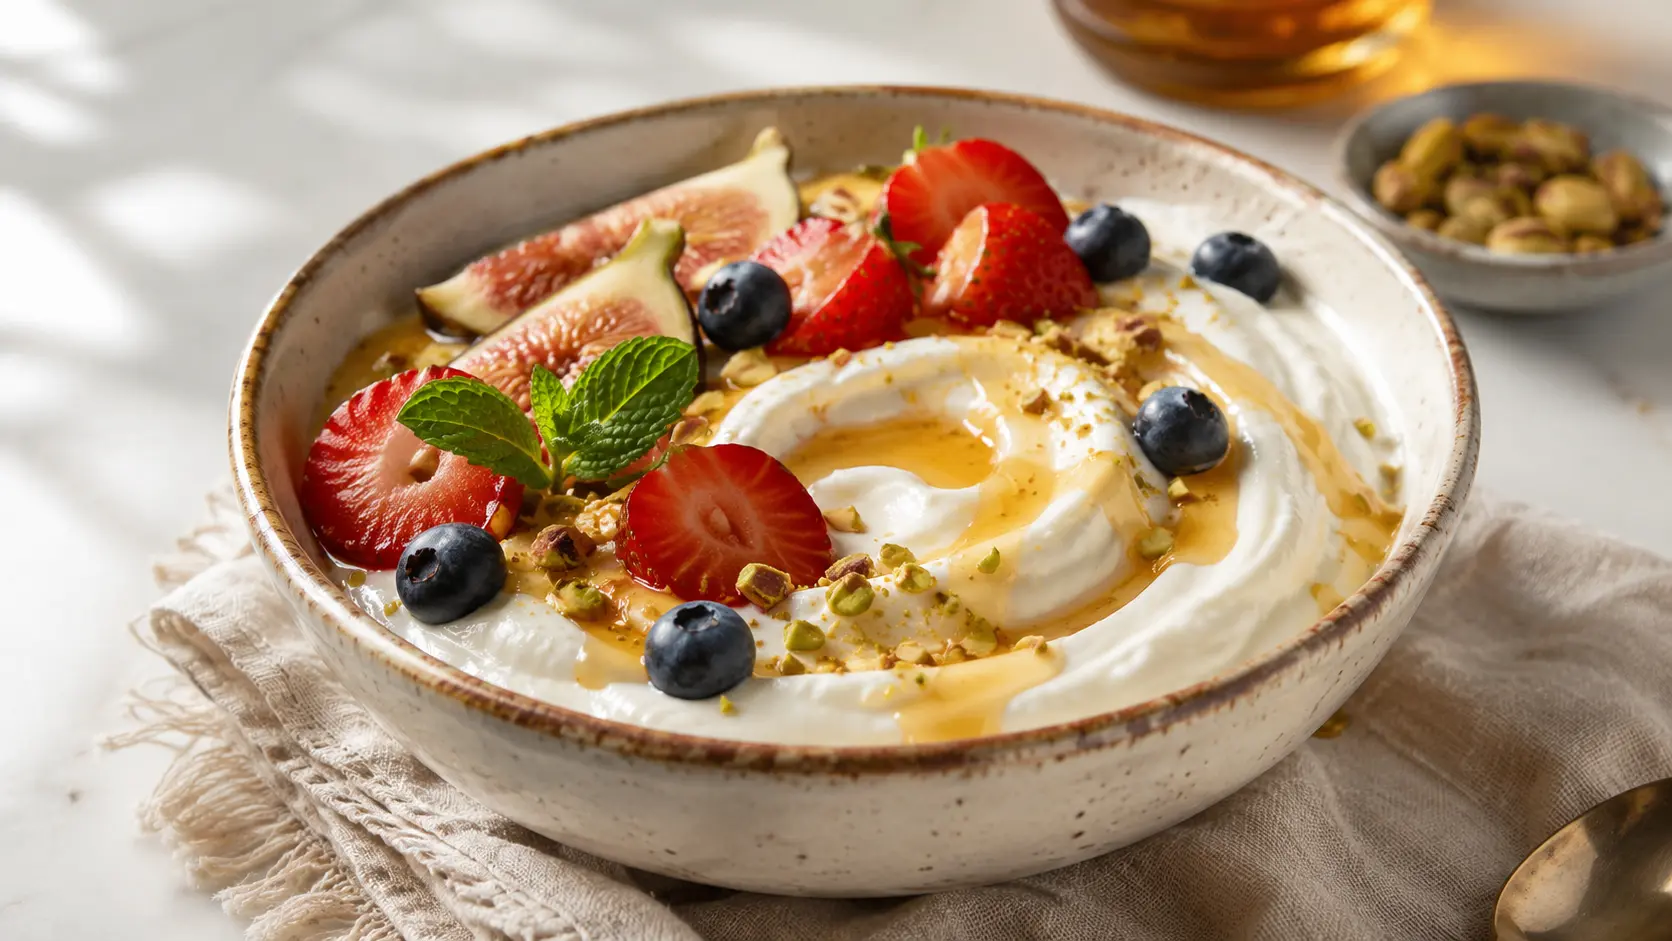
Instant Pot Yogurt Recipe (Creamy Mediterranean Greek Yogurt)
Ingredients
Method
- Pour the entire gallon of whole milk into the Instant Pot inner pot. Secure the lid with the valve on Venting. Press the Yogurt button twice until 'Boil' displays. Allow the Instant Pot to heat the milk to 180°F (82°C). This takes approximately 25–35 minutes. The pot will beep when complete.
- Remove the inner pot and allow the milk to cool to 105–115°F (40–46°C). This takes approximately 45–60 minutes at room temperature. Use a kitchen thermometer to verify the temperature before proceeding.
- Scoop 1 cup of the cooled milk into a small bowl. Whisk in 2 tablespoons of plain yogurt with live active cultures until smooth. Pour this mixture back into the Instant Pot and gently stir to combine.
- Return the inner pot to the Instant Pot. Press the Yogurt button. The display will show 8:00 (8 hours). Press Start. Do not disturb the yogurt during incubation. When the cycle completes, the yogurt will be set and jiggly.
- Line a fine-mesh strainer with cheesecloth and set over a large bowl. Ladle the yogurt into the strainer. Cover and refrigerate for 2–4 hours for thick Greek yogurt, or overnight for labneh-style yogurt cheese. Transfer strained yogurt to a clean jar.