
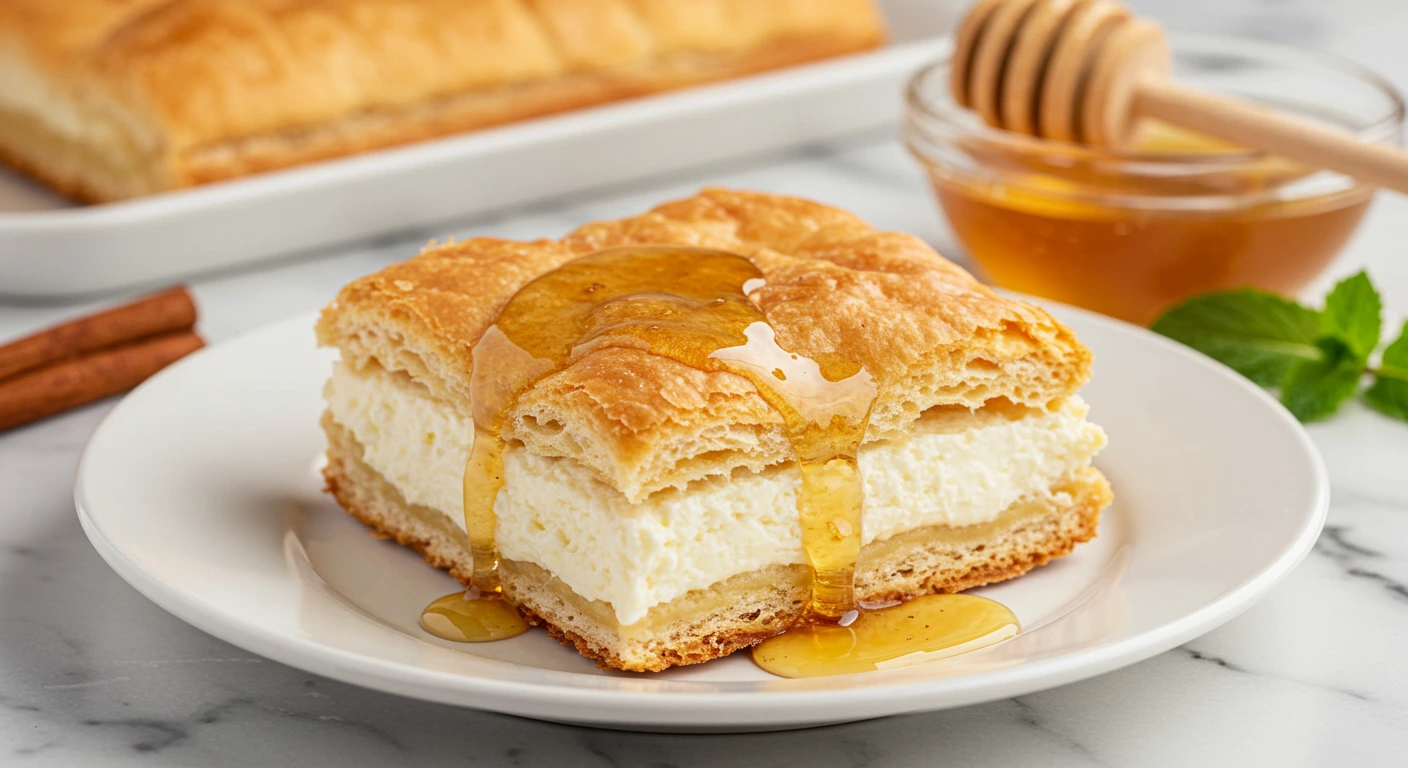
Sopapilla Cheesecake Recipe
Craving authentic Mexican desserts? This Sopapilla Cheesecake Recipe delivers creamy perfection in just 30 minutes. Discover the secret now!
Published: Sep 22, 2025 | By Ilyas Siaghy
The first time I tried Sopapilla Cheesecake, I immediately understood why so many people rave about it. It had everything I love in a dessert; flaky pastry, creamy cheesecake filling, and a buttery cinnamon-sugar topping. After making it at home for the first time, it quickly became one of those recipes I knew I’d be bringing to family gatherings, potlucks, and holiday celebrations for years to come.
What makes Sopapilla Cheesecake so special is how simple it is to prepare. Unlike traditional cheesecake, which can require special techniques and long baking times, this recipe comes together with a handful of easy-to-find ingredients. Layers of crescent roll dough sandwich a rich cream cheese filling, while a generous topping of butter, cinnamon, and sugar creates the signature flavor inspired by classic sopapillas.
I love making this dessert because it always impresses people, yet it requires very little effort. Whether served chilled or at room temperature, it’s the perfect balance of creamy, flaky, sweet, and buttery. It’s one of those crowd-pleasing recipes that disappears quickly whenever it’s served.
If you’re searching for the best Sopapilla Cheesecake recipe, you’re in the right place. This easy dessert combines the flavors of a traditional sopapilla with the richness of cheesecake, creating a delicious treat that’s perfect for parties, holidays, or anytime you’re craving something sweet and comforting.
Ingredients
For the Base and Top Layer:
- 2 cans (8 oz each) refrigerated crescent roll dough (like Pillsbury)
- 1/2 cup (1 stick) unsalted butter, melted
- 1/2 cup granulated sugar
- 1 teaspoon ground cinnamon
For the Creamy Filling:
- 16 oz (2 packages) cream cheese, softened to room temperature
- 1 cup powdered sugar
- 1 teaspoon pure vanilla extract
- 1/4 cup honey (plus extra for drizzling)
Ingredient Notes for Best Results:
- Cream Cheese: Make sure it’s completely softened – this prevents lumps in your filling. I like to take it out about 2 hours before baking, or you can soften it quickly in the microwave using 15-second intervals.
- Crescent Roll Dough: Don’t use the flaky layers variety for this recipe – stick with regular crescent rolls for the best texture.
- Honey: Use a good quality honey as it really shines in this recipe. Local wildflower honey adds an extra special touch.
How to Make Sopapilla Cheesecake Recipe
Step 1: Prepare Your Workspace
Preheat your oven to 350°F (175°C). Grease a 9×13-inch baking dish with butter or cooking spray – don’t skip this step as it prevents sticking and makes serving much easier.
Step 2: Create the Bottom Layer
Open one can of crescent roll dough and unroll it carefully. Press the dough into the bottom of your prepared baking dish, making sure to press the seams together to create one continuous layer. The dough should cover the entire bottom and come up the sides slightly. Use your fingertips to press any tears back together.
Pro Tip: If the dough springs back while you’re pressing it, let it rest for 5 minutes at room temperature, then continue pressing.
Step 3: Make the Cream Cheese Filling
In a large mixing bowl, beat the softened cream cheese with an electric mixer until completely smooth and fluffy (about 2-3 minutes). Add the powdered sugar, vanilla extract, and honey, then beat for another 2 minutes until the mixture is light and well combined. Taste and adjust sweetness if desired.
Step 4: Assemble the Cheesecake
Spread the cream cheese mixture evenly over the bottom layer of crescent roll dough. Use an offset spatula or the back of a spoon to smooth it out, making sure it reaches all corners.
Step 5: Add the Top Layer
Unroll the second can of crescent roll dough and carefully place it over the cream cheese filling. Again, press the seams together and gently stretch the dough to cover the entire surface. Don’t worry if it’s not perfect – the rustic look adds to the charm!
Step 6: Create the Golden Topping
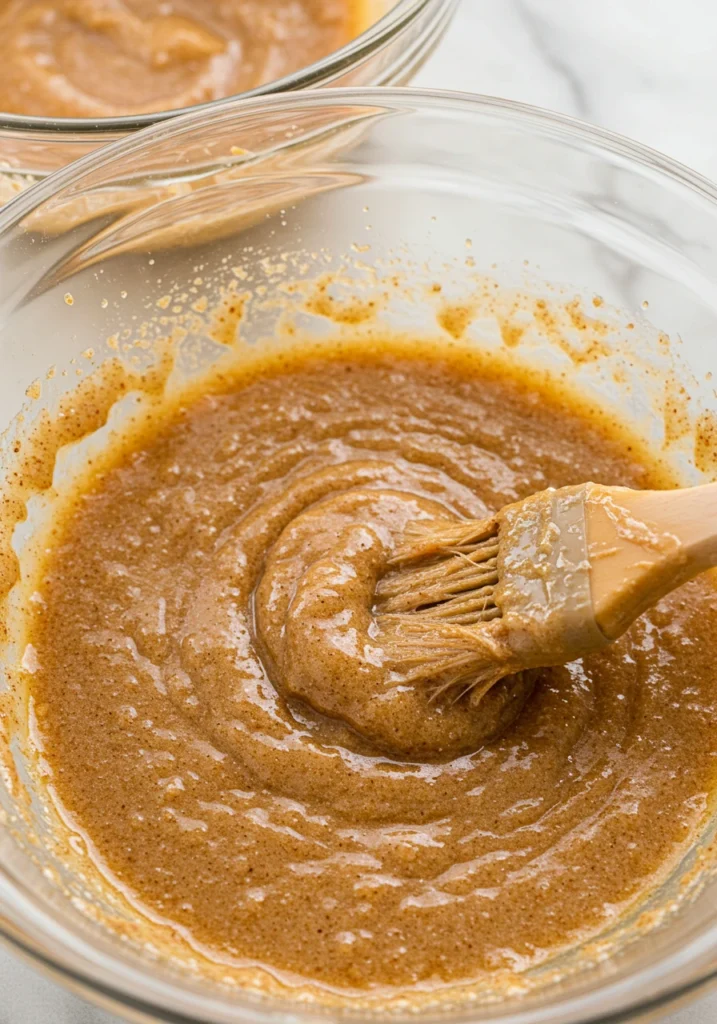
In a small bowl, mix together the melted butter, granulated sugar, and cinnamon. Using a pastry brush or spoon, spread this mixture evenly over the top layer of dough. This creates that signature golden, slightly crispy top that makes this dessert so special.
Step 7: Bake
Bake for 25-30 minutes, or until the top is golden brown and the center is set. You’ll know it’s done when the top layer is crispy and the edges are pulling away slightly from the sides of the pan.
Step 8: Cool and Serve
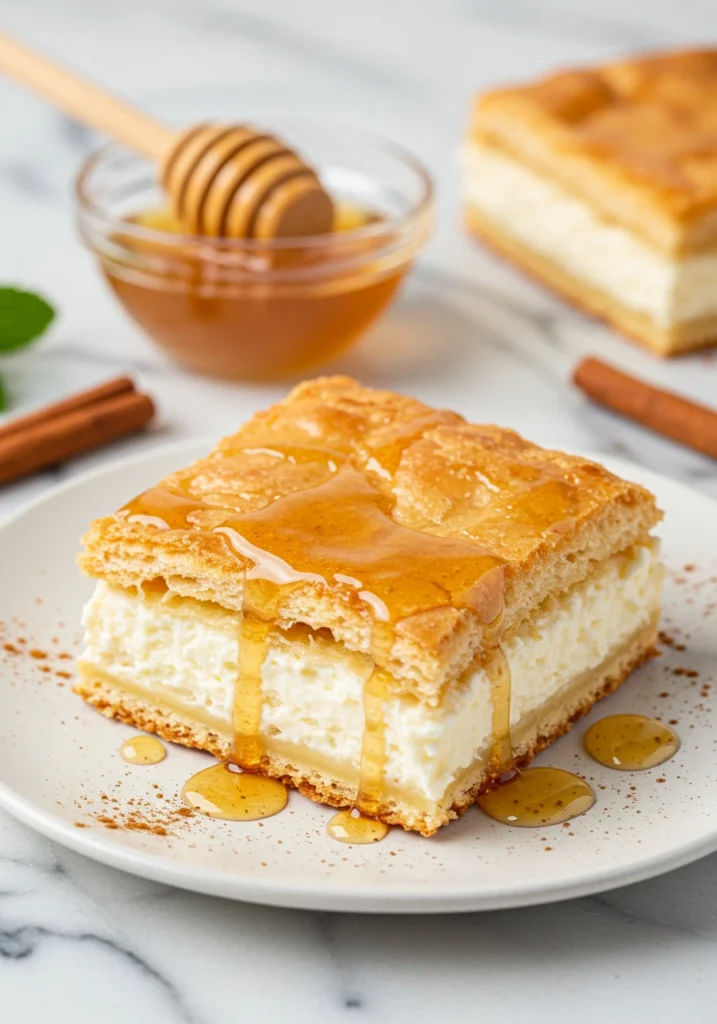
Let the sopapilla cheesecake cool in the pan for at least 15 minutes before cutting. This allows the filling to set up properly. Cut into squares and drizzle with additional honey just before serving.
Pro Tips for Sopapilla Cheesecake Success
Use Room-Temperature Ingredients for Ultra-Creamy Filling
This step really matters, especially with the cream cheese. Let it sit out until soft so it blends smoothly without lumps. Cold cream cheese doesn’t fully mix, no matter how long you beat it, and can leave the filling uneven. A few minutes of patience here makes the cheesecake layer extra creamy and bakery-worthy.
Bake Until Just Golden, Not Too Dark
Keep an eye on the oven during the last few minutes of baking. You’re looking for a lightly golden top, not deep brown. Overbaking can dry out the crescent roll layers and take away that soft, tender bite everyone loves. When in doubt, slightly underbaked is better than overdone.
Let It Cool Before Cutting (Trust Me)
It’s tempting to dive right in, but giving the cheesecake about 15 minutes to rest makes a big difference. This short cooling time helps the layers set and keeps the filling from oozing out. The result? Clean slices that look just as good as they taste.
Use a Sharp, Clean Knife for Pretty Slices
For neat, bakery-style squares, a sharp knife is your best friend. Wipe the blade clean between cuts to avoid dragging filling across the top. It’s a small step that instantly makes your sopapilla cheesecake look polished and party-ready.
Delicious Variations to Try
Chocolate Lover’s Dream
If you’re all about rich, chocolatey desserts, this version is for you. Mix cocoa powder into the cream cheese filling for a deep chocolate flavor, then fold in mini chocolate chips for little melty pockets in every bite. Skip the honey and finish it off with a drizzle of chocolate syrup for a dessert that feels extra indulgent.
Berry Bliss Sopapilla Cheesecake
This variation adds a bright, fruity twist that balances the creamy filling perfectly. Gently swirl strawberry or raspberry jam into the cream cheese before spreading it out, keeping those pretty ribbons visible. Once baked, top with fresh berries for a pop of color and a fresh-from-the-bakery feel.
Caramel Apple Twist
For cozy, fall-inspired vibes, this one’s a must-try. Stir apple pie spice into the cinnamon-sugar topping to bring in warm, spiced flavor. After baking, swap the honey for a generous drizzle of caramel sauce, it’s like apple pie and cheesecake had the best dessert mashup.
Lighter but Still Satisfying
Looking for a lighter take without giving up dessert? Reduced-fat cream cheese and a sugar-free honey substitute work surprisingly well here. The texture will be a little softer, but the flavors still hit that sweet, comforting spot. It’s a great option when you want something indulgent, just a bit lighter.
How to Serve Sopapilla Cheesecake Recipe
Sopapilla cheesecake is incredibly versatile and can be served in a few delicious ways depending on the occasion. For the best flavor and texture, many home cooks prefer serving it at room temperature, which allows the creamy filling to soften and the cinnamon sugar topping to really shine. If you’re serving it for a party or holiday gathering, cut it into neat squares and drizzle with extra honey just before serving for a bakery-style finish. For a warm and cozy dessert, gently heat individual slices so the crescent roll layers turn flaky and irresistible. Adding a scoop of vanilla ice cream or a dollop of whipped cream makes it feel extra special without much effort. Fresh berries on the side add color and a light, refreshing contrast. However you serve it, this dessert always feels comforting, indulgent, and made to share.
Storage and Reheating Instructions
Storing at Room Temperature
If you plan to enjoy this sopapilla cheesecake within a day or two, room temperature storage works just fine. Keep it loosely covered on the counter for up to 2 days. This is actually my favorite way to serve it, the flavors really shine when it’s not ice-cold, and the texture stays soft and tender.
Refrigerated Storage for Longer Freshness
For longer storage, cover the dish tightly and place it in the refrigerator for up to 5 days. The cream cheese filling firms up as it chills, giving the dessert a slightly denser bite that many people love. It’s a great option if you like your cheesecake more set and sliceable.
Store Individual Portions for Easy Treats
Cut the cheesecake into squares and place them in individual airtight containers. This makes it perfect for grab-and-go desserts or easy lunchbox treats throughout the week. No cutting later, no mess just dessert when the craving hits.
Serving at Room Temperature
To bring refrigerated sopapilla cheesecake back to its best texture, simply take it out of the fridge about 30 minutes before serving. This allows the filling to soften and the flavors to come alive again without any extra effort.
Quick Microwave Reheat
If you like it slightly warm, place an individual square on a microwave-safe plate and heat for 15–20 seconds. The crescent roll layers turn wonderfully flaky, and the filling becomes extra creamy just warm enough without melting.
Oven Reheating for a Crowd
Warming up multiple servings? Place the cheesecake in a 300°F oven for about 5–7 minutes. This gently heats everything through without drying it out, making it ideal for gatherings or second-day desserts.
Pairings and Menu Recipe Ideas
Sopapilla Cheesecake Recipe FAQs
Can I use homemade pastry instead of crescent rolls?
While crescent rolls are what make this recipe so quick and foolproof, you can use homemade pastry. Roll it thin and follow the same layering technique. However, you’ll lose the convenience factor that makes this such a weeknight winner.
Why is my cream cheese filling lumpy?
This almost always comes down to temperature. Make sure your cream cheese is completely softened before mixing. If you’re in a hurry, cut it into small cubes and microwave in 15-second intervals, stirring between each interval.
Can I make this gluten-free?
Yes! Use gluten-free crescent roll dough (brands like Pillsbury make them) and follow the exact same method. The texture will be very similar to the traditional version.
How do I know when it’s perfectly baked?
Look for a golden brown top layer that’s set but not hard. The center should no longer jiggle when you gently shake the pan. If the edges start getting too dark, cover with foil and continue baking.
Can I double this recipe?
Absolutely! Use two 9×13 pans or one large sheet pan. The baking time may increase by 5-10 minutes, so keep an eye on it.
What’s the best way to cut clean squares?
Use a sharp knife and wipe it clean with a damp towel between each cut. A bench scraper also works wonderfully for this.
Can I add fruit to this recipe?
Yes! Fold fresh berries into the cream cheese filling or create a thin layer of jam between the cream cheese and top pastry layer. Just be aware that extra moisture might require a few additional minutes of baking time.
More Delicious Mexican Desserts
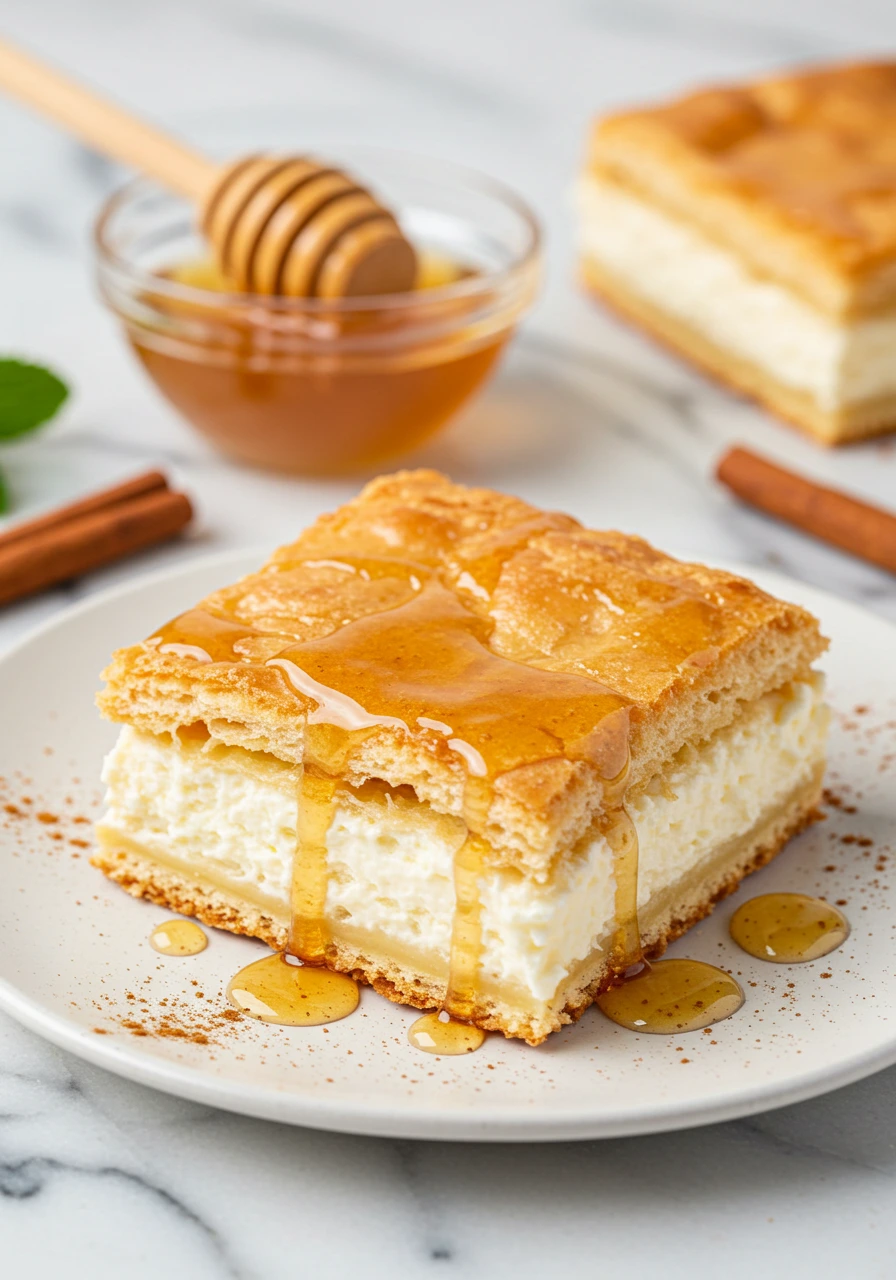
The Best Sopapilla Cheesecake Recipe
Ingredients
Equipment
Method
- Prepare Your Workspace: Preheat your oven to 350°F (175°C). Grease a 9×13-inch baking dish with butter or cooking spray.
- Create the Bottom Layer: Open one can of crescent roll dough and unroll it carefully. Press the dough into the bottom of your prepared baking dish, making sure to press the seams together to create one continuous layer.
- Make the Cream Cheese Filling: In a large mixing bowl, beat the softened cream cheese with an electric mixer until completely smooth and fluffy (about 2-3 minutes). Add the powdered sugar, vanilla extract, and honey, then beat for another 2 minutes until the mixture is light and well combined.
- Assemble the Cheesecake: Spread the cream cheese mixture evenly over the bottom layer of crescent roll dough. Use an offset spatula or the back of a spoon to smooth it out, making sure it reaches all corners.
- Add the Top Layer: Unroll the second can of crescent roll dough and carefully place it over the cream cheese filling. Press the seams together and gently stretch the dough to cover the entire surface.
- Create the Golden Topping: In a small bowl, mix together the melted butter, granulated sugar, and cinnamon. Using a pastry brush or spoon, spread this mixture evenly over the top layer of dough.
- Baking: Bake for 25-30 minutes, or until the top is golden brown and the center is set. The top layer should be crispy and the edges should be pulling away slightly from the sides of the pan.
- Cool and Serve: Let the sopapilla cheesecake cool in the pan for at least 15 minutes before cutting. Cut into squares and drizzle with additional honey just before serving.



One Comment