Kimchi Fried Rice
Learn how to make authentic Korean kimchi fried rice with simple ingredients and bold flavors. Serve as a perfect meal with a sunny egg on top!
Published: Feb 12, 2026 | By Ilyas Siaghy
The first time I made Korean Kimchi Fried Rice, it was purely out of necessity. I had leftover rice in the fridge, a jar of kimchi that needed to be used, and not much time to cook dinner. What started as a quick meal turned into one of the most flavorful dishes I’ve ever made. One bite of the savory rice, tangy kimchi, and rich seasonings, and I understood why this simple Korean comfort food is loved by so many.
What makes Korean Kimchi Fried Rice so special is its incredible balance of flavors. The fermented kimchi adds a bold, slightly spicy tang that transforms ordinary fried rice into something deeply satisfying. Combined with day-old rice, aromatic vegetables, and your choice of protein, it creates a meal that’s both comforting and packed with character. Top it with a fried egg, and it becomes the kind of dish you’ll crave again and again.
I love making Korean Kimchi Fried Rice on busy weeknights because it’s quick, budget-friendly, and a fantastic way to use leftovers. It’s one of those recipes that proves you don’t need complicated ingredients to create something truly delicious.
If you’re searching for the best Korean Kimchi Fried Rice recipe, you’ve come to the right place. This easy dish is loaded with bold Korean flavors, comes together in minutes, and delivers the perfect combination of spicy, savory, and comforting in every bite.
Tools You’ll Need
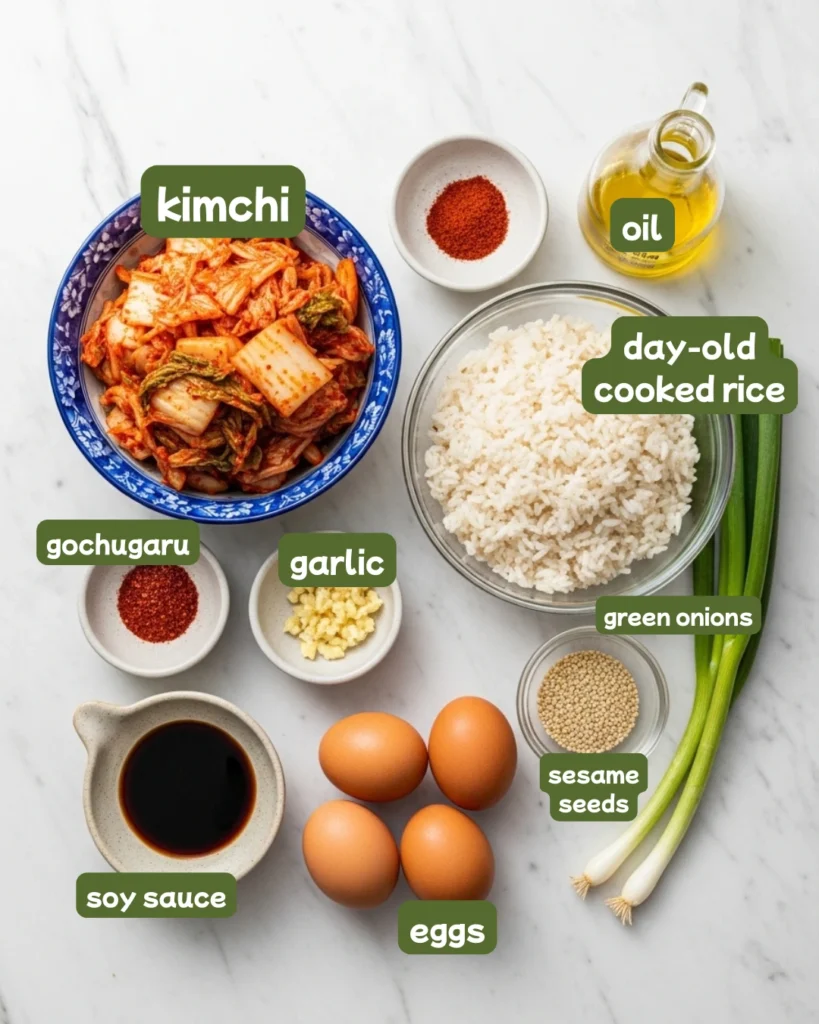
Ingredients for Authentic Kimchi Fried Rice
Main Ingredients
- 4 cups day-old cooked rice (short or medium grain white rice works best)
- 1 ½ cups well-fermented kimchi, chopped (the juice is gold, save it!)
- 3 tablespoons kimchi juice (from the jar)
- 2 tablespoons neutral oil (vegetable or canola)
- 1 tablespoon sesame oil
- 2 tablespoons gochugaru (Korean red pepper flakes)
- 1 tablespoon soy sauce
- 1 teaspoon sugar (balances the flavors)
- 2 cloves garlic, minced
- 4 large eggs (one per serving, for frying)
Optional Add-Ins
- 4 ounces protein of choice (bacon, spam, pork belly, or firm tofu)
- 2 scallions, chopped (green and white parts separated)
- ¼ cup frozen peas or corn
- 1 small onion, diced
- Roasted seaweed strips (gim), for garnish
- Sesame seeds, for garnish
Where to Find Ingredients
You can find most ingredients at your regular grocery store these days, kimchi is usually in the refrigerated international section. For gochugaru and the best kimchi selection, visit a Korean or Asian grocery store, or order online. Don’t stress if you can’t find traditional Korean ingredients; this recipe is flexible.
How to Make Kimchi Fried Rice (Step by Step)
Prepare Your Ingredients (Step 1)
- Break up the cold rice: Take your day-old rice out of the fridge and break up any clumps with your hands or a fork. This is crucial as you want individual grains, not chunks.
- Chop the kimchi: Drain your kimchi over a bowl to catch the juice (you’ll need it!). Chop the kimchi into bite-sized pieces, about ½-inch squares.
- Prep your add-ins: If using bacon or spam, dice it into small pieces. Mince your garlic. Chop your scallions, keeping the white and green parts separate.
Pro tip: Don’t skip the day-old rice requirement. Fresh rice has too much moisture and will turn mushy instead of getting those crispy bits we want.
Cook Your Protein If Using (Step 2)
- Heat a large skillet or wok over medium-high heat. Don’t add oil yet if you’re using bacon or spam, they’ll release their own fat.
- Cook your protein: Add diced bacon, spam, or pork belly and cook for 3-4 minutes until crispy and golden. If using tofu, add 1 tablespoon of oil first, then cook until golden on all sides.
- Remove and set aside: Transfer the cooked protein to a plate. Leave about 1 tablespoon of fat in the pan (drain excess if needed).
Start the Base Flavor (Step 3)
- Add oils to the pan: Pour in 2 tablespoons neutral oil and 1 tablespoon sesame oil over medium-high heat.
- Sauté the aromatics: Add the white parts of the scallions (save the green for later) and minced garlic. Stir-fry for 30 seconds until fragrant, don’t let the garlic burn!
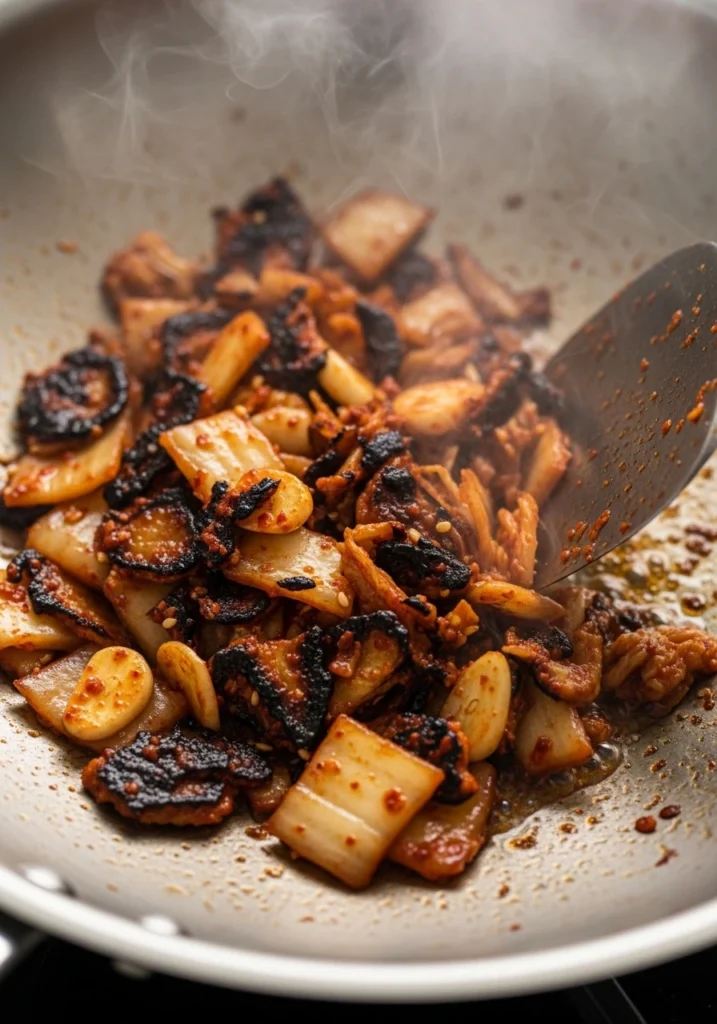
- Add the kimchi: Toss in your chopped kimchi and stir-fry for 2-3 minutes. You want it to soften slightly and caramelize a bit around the edges.
Build the Flavor Base (Step 4)
- Add the kimchi juice: Pour in 3 tablespoons of that precious kimchi juice along with the gochugaru, soy sauce, and sugar.
- Stir everything together: Mix well and cook for another minute. The pan should smell absolutely incredible right now.
- Taste and adjust: This is your flavor base. It should taste tangy, spicy, and slightly sweet. Adjust seasoning if needed.
Add the Rice and Make It Amazing (Step 5)
- Add all the cold rice: Dump it right into the pan with the kimchi mixture.
- Mix thoroughly: Use a wide metal spatula to break up the rice and press down on clumps to separate the grains.
- Let it sit: Here’s the secret, resist the urge to constantly stir! Let the rice sit undisturbed for 1-2 minutes so the bottom gets crispy and golden.
- Toss and repeat: Flip sections of the rice to expose new surfaces to the heat. Let it sit again for another minute. Repeat this process 2-3 times.
- Add the protein back: Toss in your cooked protein (if using) and any optional vegetables like peas or corn.
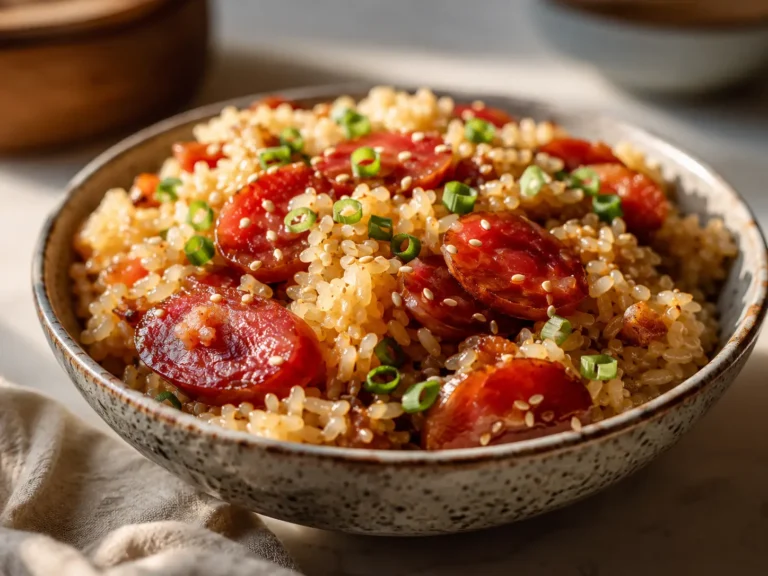
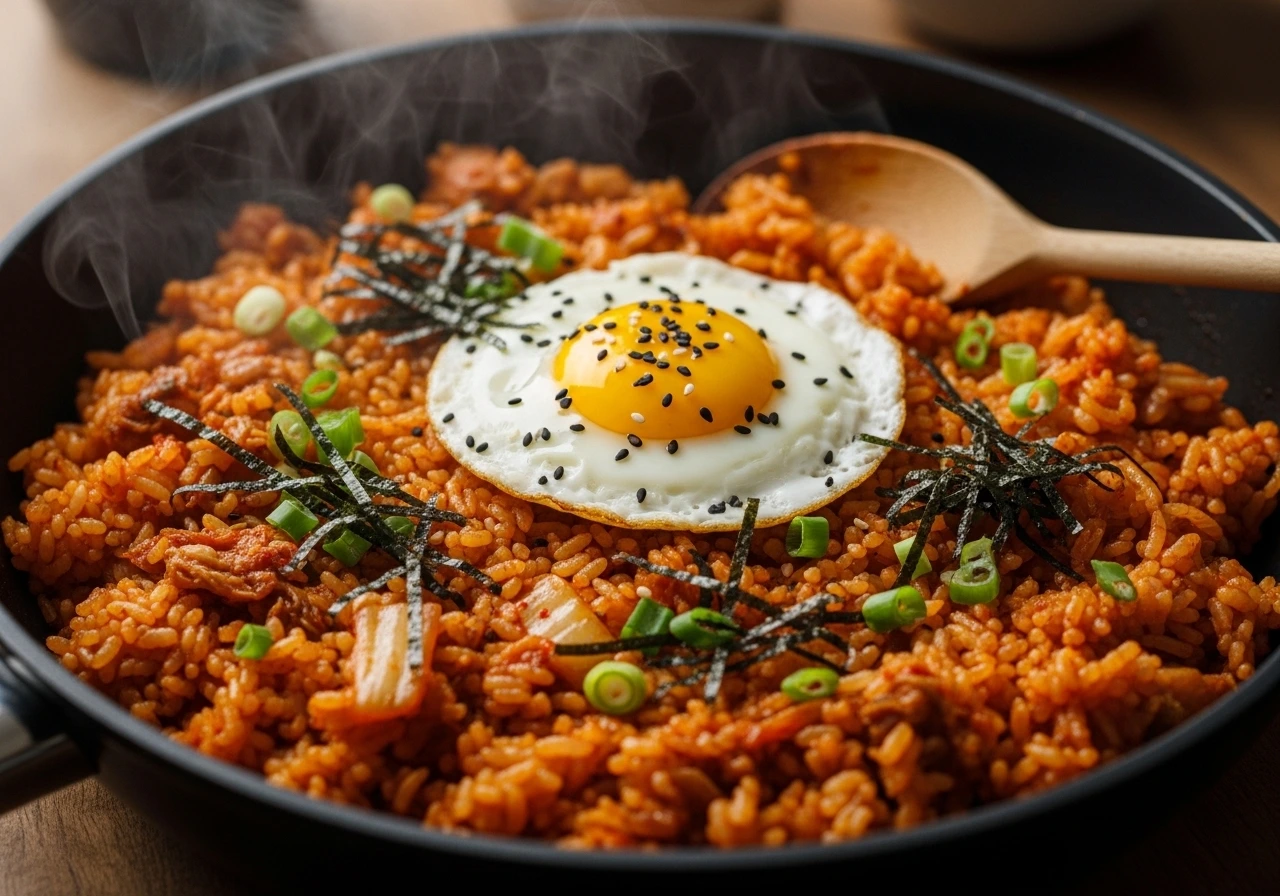
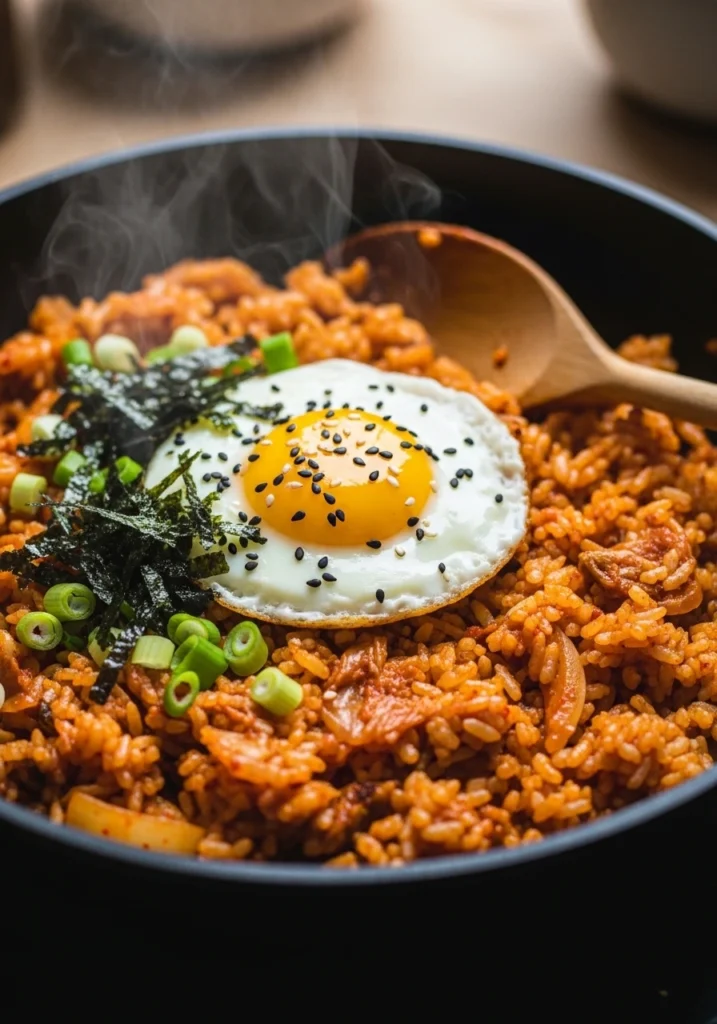
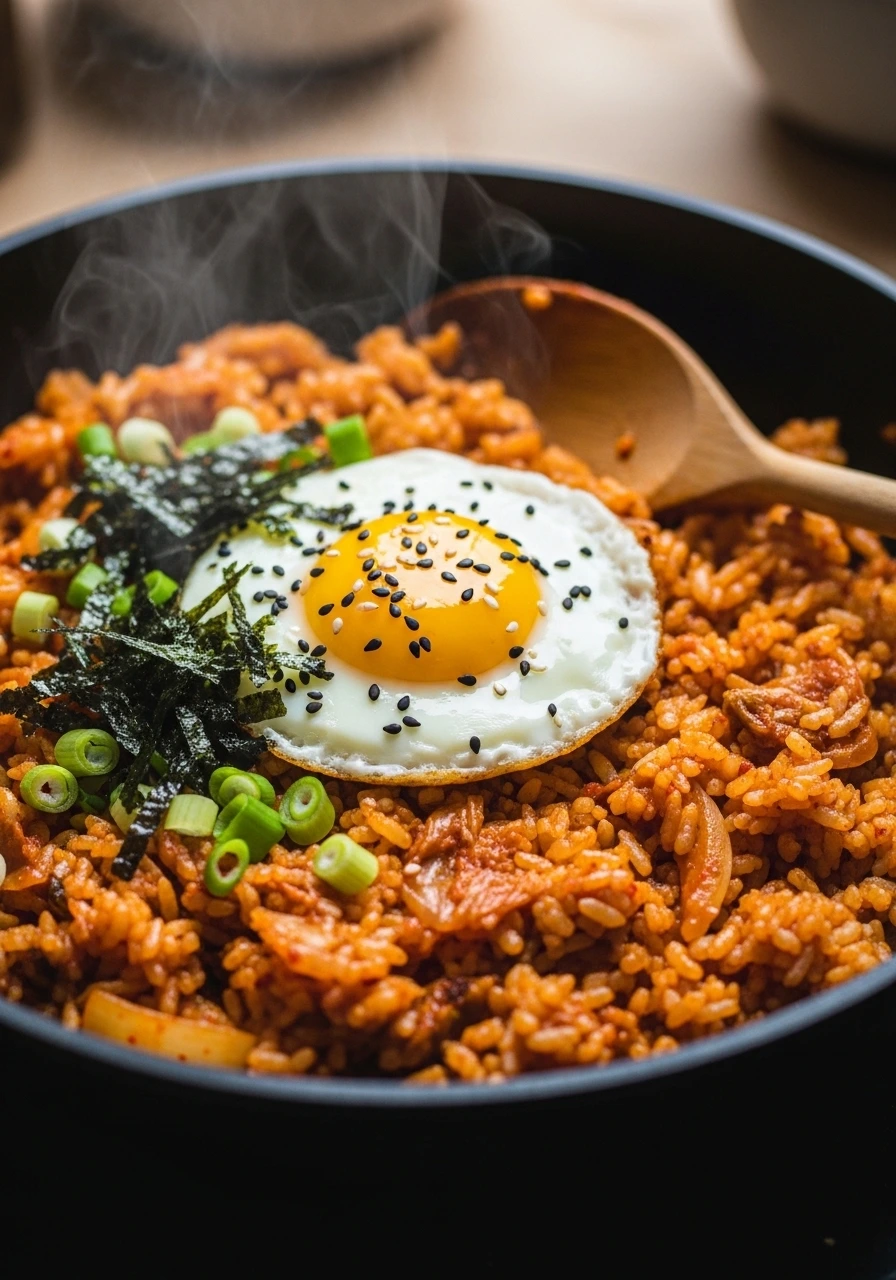
The perfect kimchi fried rice has a mix of textures, some crispy bits, some tender rice, all coated in that gorgeous reddish-orange color from the kimchi and gochugaru.
Fry Your Eggs to Perfection (Step 6)
- Heat a separate non-stick frying pan over medium heat with a little oil.
- Crack in the eggs: Cook them to your preference, I love a runny yolk that breaks over the rice, but crispy edges are a must.
- Season lightly: Just a pinch of salt and pepper on each egg.
Plate and Serve (Step 7)
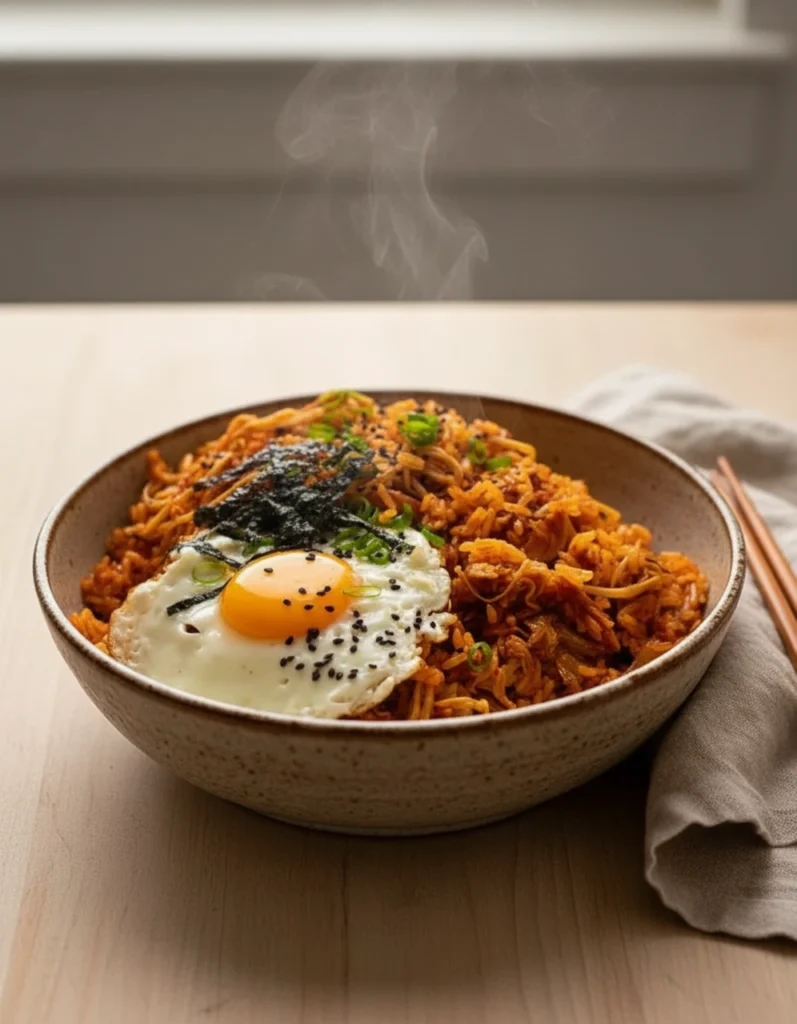
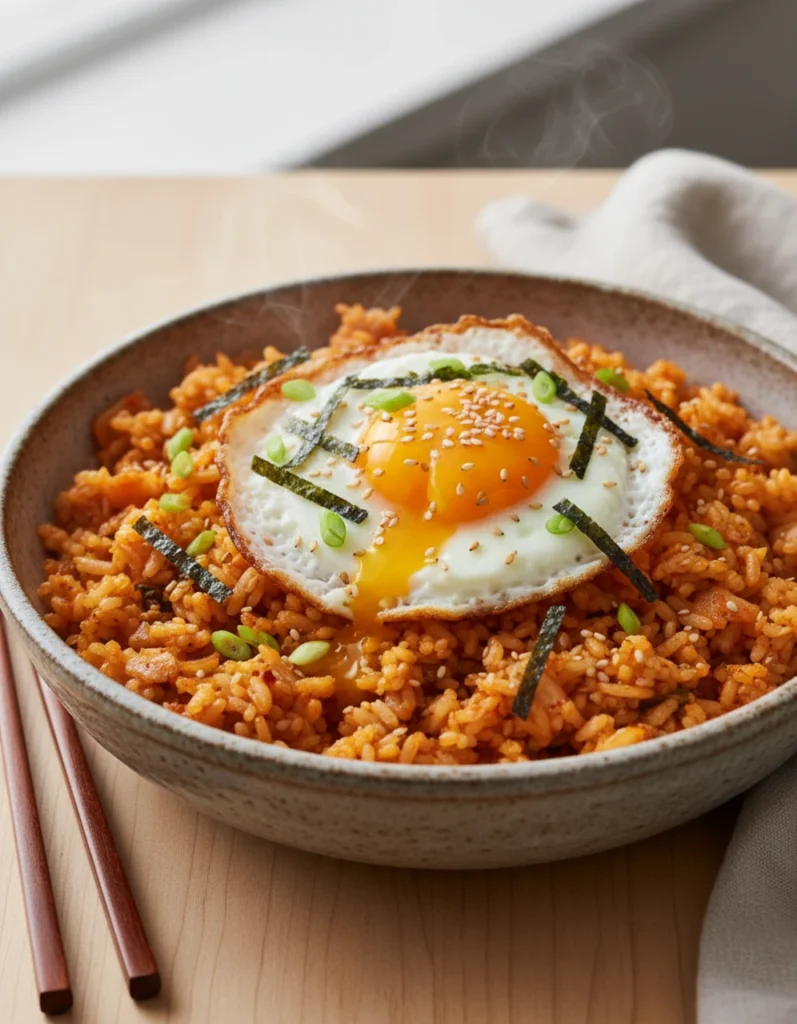
- Divide the rice: Scoop the kimchi bokkeumbap into four bowls.
- Top each bowl: Place a fried egg on top of each serving.
- Garnish generously: Sprinkle with sesame seeds, the green parts of scallions, and torn pieces of roasted seaweed if you have them.
- Serve immediately: This dish is best enjoyed hot, with that yolk ready to be broken and mixed into the rice.
Expert Tips for the Best Korean Kimchi Fried Rice
Use Well-Fermented Kimchi
The more sour and fermented your kimchi, the better your fried rice will taste. Fresh kimchi is great for eating on its own, but aged kimchi (2-3 weeks old or more) has developed the complex, funky flavors that make this dish sing. If your kimchi is too fresh, let it sit at room temperature for a day before using it. If your local kimchi isn’t aged enough, a quality canned fermented kimchi gives you that funky depth right out of the jar
The Leftover Rice Rule
Always use day-old rice that’s been refrigerated. The cold rice has dried out slightly, which means individual grains separate easily and can get crispy. Fresh rice will turn mushy and sticky, not what we want! If you don’t have leftover rice, spread freshly cooked rice on a baking sheet and refrigerate for 30 minutes to cool and dry it out.
Don’t Skimp on the Kimchi Juice
That liquid in your kimchi jar is flavor gold. It’s packed with fermented goodness, probiotics, and umami. The juice helps season the rice and adds that signature tangy flavor that makes this dish authentic.
Get Your Pan Hot Enough
Medium-high to high heat is your friend here. You want to hear that satisfying sizzle when the rice hits the pan. This is what creates those crispy, golden bits (called “socarrat” in Spanish cooking, “nurungji” in Korean) that make fried rice irresistible.
The Press-and-Wait Technique
Instead of constantly stirring, press the rice down and let it sit for 1-2 minutes between tosses. This creates those crispy, caramelized bits throughout the rice that add incredible texture.
Delicious Variations to Try
Kimchi Fried Rice with Spam
Spam and kimchi fried rice is a match made in heaven. The salty, savory spam complements the tangy kimchi perfectly. Dice one can of spam into small cubes and crisp it up before adding the kimchi.
Vegetarian Kimchi Bokkeumbap
Skip the meat and load up on vegetables! Add diced mushrooms, zucchini, carrots, and extra kimchi. Use vegetarian kimchi (check the label, as traditional kimchi often contains fish sauce or shrimp paste).
Cheese Kimchi Fried Rice
This might sound wild, but trust me, add ½ cup shredded mozzarella or cheddar cheese to the rice in the last minute of cooking and stir until melted. The creamy, stretchy cheese balances the spicy kimchi beautifully.
Seafood Kimchi Fried Rice
Toss in some cooked shrimp, squid, or imitation crab during the last few minutes of cooking. Seafood adds a delicate sweetness that contrasts nicely with the bold kimchi flavors.
Vegan Version
Use vegetarian kimchi, skip the egg (or use a tofu scramble), and add extra vegetables and crispy tofu. You won’t miss a thing!
Rice Substitutions
While white rice is traditional, you can use brown rice, cauliflower rice (reduce cooking time), or even quinoa for a healthier twist. Just remember that different grains have different textures and cooking needs.
How to Store and Reheat Kimchi Fried Rice
Storage Instructions
Store leftover kimchi fried rice in an airtight container in the refrigerator for up to 3 days. Keep the fried egg separate if possible, as it doesn’t reheat as well. The rice flavors actually develop and deepen overnight, making leftovers sometimes even better than the original!
Reheating Methods
- Stovetop (Best Method): Heat a skillet over medium-high heat with a tablespoon of oil. Add the rice and press it down, letting it crisp up for 2-3 minutes. Stir and repeat. This method brings back that crispy texture.
- Microwave (Quick Method): Place rice in a microwave-safe bowl, sprinkle with a tablespoon of water, cover with a damp paper towel, and microwave for 1-2 minutes, stirring halfway through.
- Oven Method: Spread rice on a baking sheet, drizzle with a little oil, and bake at 350°F for 10-15 minutes, stirring once halfway through.
Can You Freeze Kimchi Fried Rice?
Yes! Freeze portions in airtight containers for up to 2 months. Thaw overnight in the refrigerator before reheating. The texture might be slightly less crispy, but the flavor will still be amazing.
FAQs About Kimchi Fried Rice
What kind of kimchi is best for fried rice?
Well-fermented napa cabbage kimchi works best. The older and more sour the kimchi, the better the flavor. Avoid using fresh kimchi or water kimchi (mul kimchi), as they don’t have the developed flavors needed for this dish. Kimchi that’s been fermenting for 2-4 weeks is ideal.
Can I use fresh rice instead of day-old rice?
While day-old rice is strongly recommended, you can use fresh rice in a pinch. Spread freshly cooked rice on a baking sheet and refrigerate for at least 30 minutes to cool and dry out. Break up any clumps before using. Fresh rice that’s still warm will create a mushy, sticky fried rice rather than the crispy, separated grains we’re after.
Is kimchi fried rice spicy?
The spice level depends on your kimchi and how much gochugaru you add. Most versions have a moderate, pleasant heat and not overwhelming. If you’re sensitive to spice, use less gochugaru or choose a milder kimchi. You can also serve it with a dollop of sour cream or Greek yogurt to cool things down.
What can I serve with kimchi bokkeumbap?
This quick Korean dinner recipe is hearty enough to serve as a complete meal, especially with the fried egg on top. However, it pairs beautifully with Korean side dishes (banchan) like cucumber salad, steamed broccoli, or soup.
Can I make kimchi fried rice ahead of time?
You can prep all your ingredients ahead (chop kimchi, portion rice, cook protein), but the actual cooking should be done fresh for the best texture. The rice tastes great when made ahead and reheated, but you’ll lose some of that crispy texture that makes it special.
Do I need a wok to make this recipe?
No! While a wok works great, any large skillet will do, but if you cook a lot of Asian dishes, a carbon steel wok is a fantastic investment that gets better with use. The key is having enough surface area so the rice isn’t crowded, allowing it to get crispy. If you have a smaller pan, cook the rice in batches.
Why is my kimchi fried rice mushy?
The most common culprits are: using fresh rice that’s too moist, overcrowding the pan, or cooking at too low a temperature. Make sure you use day-old rice, give it space in the pan, and cook over medium-high to high heat. Also, avoid adding too much liquid, the kimchi juice and kimchi itself provide plenty of moisture.
Perfect Pairings and Menu Ideas
- Korean Beef Bulgogi Bowl
- Easy Homemade Kimchi
- Japanese Fried Rice (Yakimeshi)
- 10-Minute Thai Cucumber Salad
- Korean-Style Scrambled Eggs
More Flavorful Korean Food Recipes
Korean Kimchi Fried Rice (Kimchi Bokkeumbap)
Ingredients
Method
- Take day-old rice out of the fridge and break up any clumps with your hands or a fork until you have individual grains.
- Drain kimchi over a bowl to catch the juice (reserve 3 tablespoons). Chop kimchi into bite-sized pieces, about ½-inch squares.
- Mince garlic and chop scallions, keeping white and green parts separate.
- Heat 2 tablespoons neutral oil and 1 tablespoon sesame oil in a large skillet or wok over medium-high heat.
- Add white parts of scallions and minced garlic. Stir-fry for 30 seconds until fragrant, being careful not to burn the garlic.
- Add chopped kimchi and stir-fry for 2-3 minutes until it softens and begins to caramelize around the edges.
- Pour in kimchi juice, gochugaru, soy sauce, and sugar. Stir everything together and cook for 1 minute.
- Add all the cold rice to the pan. Use a spatula to break up clumps and mix everything together thoroughly.
- Press rice down and let it sit undisturbed for 1-2 minutes to get crispy. Flip sections and let sit again. Repeat 2-3 times until rice has crispy bits throughout.
- In a separate non-stick pan over medium heat, fry 4 eggs to your preference with crispy edges and runny yolks. Season with salt and pepper.
- Divide kimchi fried rice into 4 bowls. Top each with a fried egg. Garnish with sesame seeds, green parts of scallions, and roasted seaweed strips.
- Serve immediately while hot. Break the egg yolk and mix it into the rice for extra creaminess.