Korean Bibimbap Recipe
Craving Korean food? This easy bibimbap recipe layers seasoned veggies, protein, a fried egg & gochujang sauce in just 30 minutes. Restaurant flavor at home.
Published: Sep 30, 2025 | By Ilyas Siaghy
Introduction
The first time I made this bibimbap recipe, I was amazed by how something so colorful and simple could taste like it came straight from a Korean restaurant. I had always thought bibimbap was a complicated dish reserved for special occasions, but after trying it at home, I realized it’s actually one of the easiest Korean meals to prepare. The best part was arranging the vibrant vegetables, savory beef, perfectly fried egg, and spicy gochujang sauce over a bowl of warm rice before mixing everything together. Every bite was packed with incredible flavor, and it instantly became one of my favorite weeknight dinners.
If you’ve been searching for the ultimate bibimbap recipe, you’re in the right place. This authentic Korean rice bowl combines seasoned vegetables, tender beef, fluffy rice, a runny egg, and a delicious homemade bibimbap sauce for a meal that’s both satisfying and easy to make. Ready in just 30 minutes, this easy bibimbap recipe is perfect for busy families, meal prep, or anyone looking to enjoy traditional Korean cuisine without spending hours in the kitchen.
Whether you’re new to Korean cooking or already love dishes like bulgogi and kimchi, this homemade bibimbap recipe is a fantastic place to start. I’ll show you exactly how to prepare each topping, make the flavorful gochujang sauce, and assemble the perfect bowl with simple ingredients you can easily find. Once you try this easy Korean bibimbap recipe, it’s sure to become a regular addition to your dinner rotation. All you really need is a good wok or large skillet and a rice cooker to get restaurant-quality results — I’ll show you exactly how.
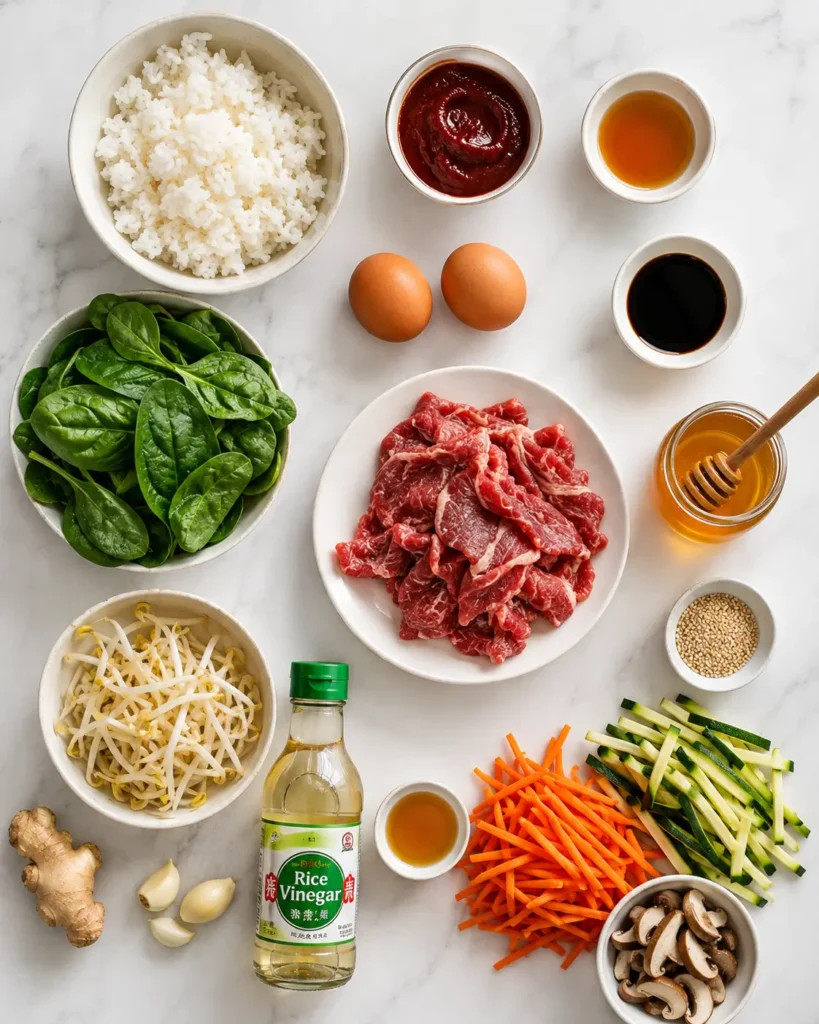
Ingredients for Your Perfect Bibimbap Recipe
For the Rice:
- 3 cups cooked short-grain white rice (preferably day-old), I always use short-grain Japanese sushi rice, it’s the only variety that gets properly sticky enough to crisp into nurungji.
- 2 tablespoons sesame oil
- Pinch of salt
For the Protein (Choose One or Mix):
- 1 pound beef (sirloin or ribeye, thinly sliced) for beef bibimbap
- 1 pound chicken breast, thinly sliced
- 1 block (14 oz) firm tofu for vegetarian bibimbap
- 4-8 eggs (1-2 per bowl, fried sunny-side up)
Beef Marinade (if making beef bibimbap):
- 3 tablespoons soy sauce
- 1 tablespoon brown sugar
- 2 cloves garlic, minced
- 1 tablespoon sesame oil
- 1 teaspoon grated fresh ginger
- Black pepper to taste
Vegetables:
- 2 cups spinach, blanched
- 1 large carrot, julienned
- 1 medium zucchini, julienned
- 8 oz mushrooms (shiitake or button), sliced
- 1 cup bean sprouts
- 4 cloves garlic, minced (divided)
- Salt to taste
- Sesame oil for cooking
For Serving:
- Toasted sesame seeds
- Sliced green onions
- Kimchi (optional but recommended)
- Extra gochujang sauce
- Nori (seaweed) strips (optional)
Tools You’ll Need
- Rice Cooker for perfectly cooked rice every time
- Large Wok or Skillet (for cooking protein, vegetables, and crisping rice)
- Julienne Peeler makes quick work of the carrots and zucchini
- Korean Stone Bowl (Dolsot), optional upgrade for authentic crispy-rice texture
How to Make Korean Bibimbap (Step by Step)
Step 1: Prepare Your Bibimbap Sauce
Let’s start with the star of the show, the sauce! This homemade bibimbap sauce recipe is what transforms ordinary ingredients into an unforgettable Korean feast. In a small bowl, whisk together the gochujang, sesame oil, rice vinegar, honey, minced garlic, water, and sesame seeds until smooth and glossy. The combination of spicy, sweet, tangy, and nutty flavors creates that addictive taste that makes bibimbap so crave-worthy. If you want to master the perfect sauce with more variations and customization tips, check my quick Bibimbap Sauce Recipe where I share multiple flavor profiles from mild to extra spicy, plus storage tips and creative uses beyond bibimbap. For now, taste your sauce and adjust the sweetness or heat to your preference, then set it aside while you prepare everything else.
Pro tip: Make a double batch of this sauce and keep it in the fridge for up to two weeks. You’ll want to drizzle it on everything!
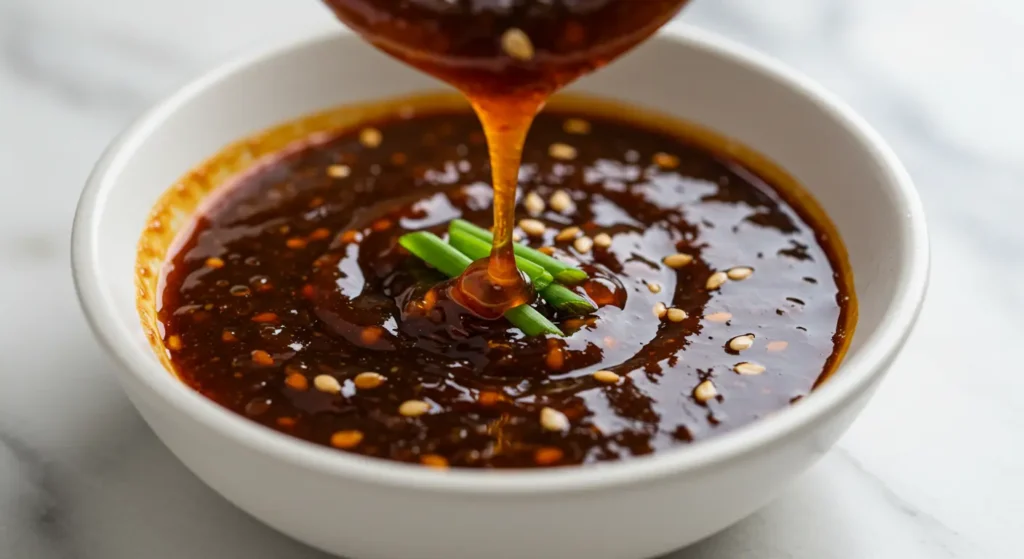
Step 2: Marinate Your Protein (If Using Beef)
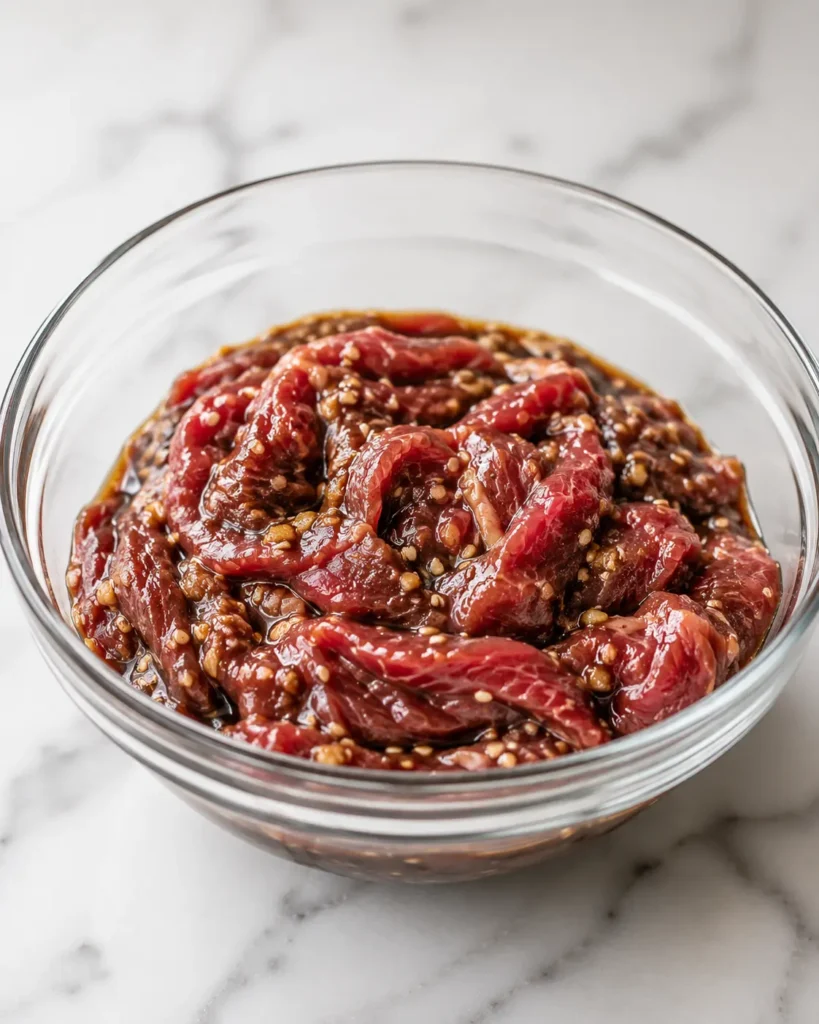
If you’re making beef bibimbap, combine all the marinade ingredients in a bowl and add your thinly sliced beef. Mix well and let it sit for at least 10 minutes while you prep the vegetables. The longer it marinates, the more flavorful it becomes, but even 10 minutes makes a difference. For vegetarian bibimbap, press your tofu to remove excess moisture, then cut into cubes or slices.
Step 3: Prepare the Vegetables
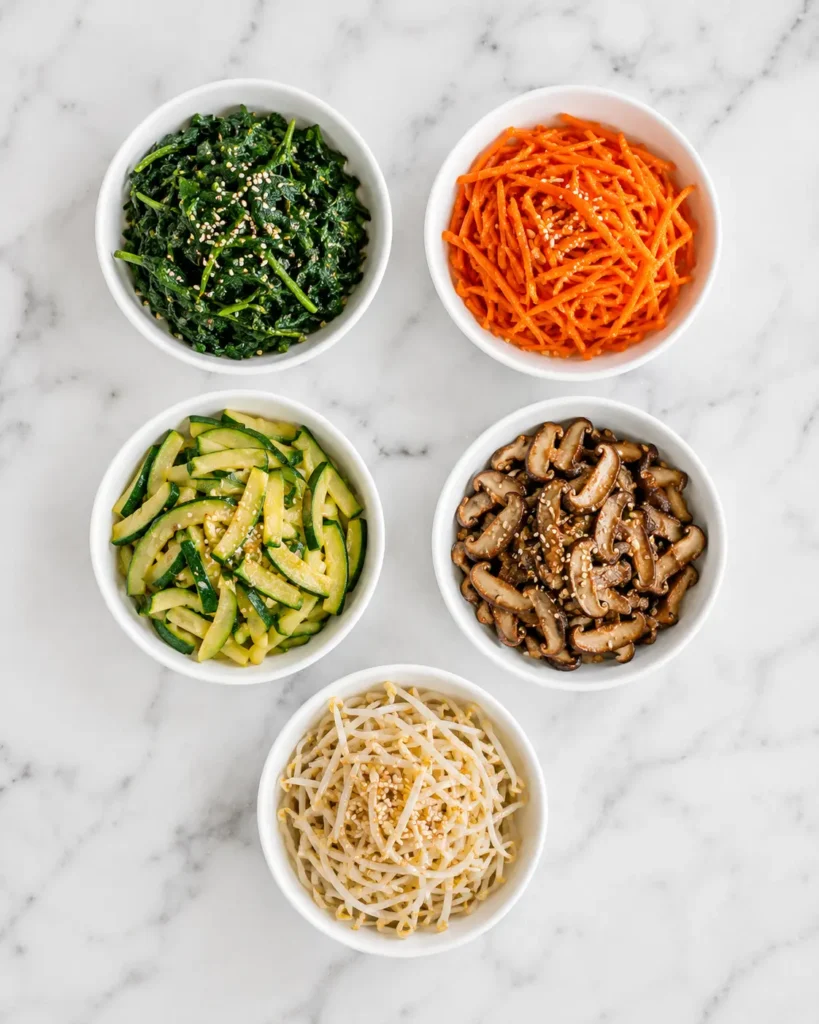
This is where bibimbap gets its beautiful rainbow appearance. Each vegetable is seasoned individually to bring out its best flavor:
- Spinach: Blanch the spinach in boiling water for 1 minute, then immediately transfer to ice water. Squeeze out excess moisture, chop roughly, and toss with 1 minced garlic clove, a pinch of salt, and a drizzle of sesame oil.
- Carrots: Heat a teaspoon of sesame oil in a pan over medium heat. Sauté the julienned carrots for 2-3 minutes until tender-crisp. Season with a pinch of salt.
- Zucchini: In the same pan, add another teaspoon of sesame oil and sauté the zucchini for 2-3 minutes. Season with salt. Keep the zucchini separate from the carrots to maintain distinct colors.
- Mushrooms: Sauté the sliced mushrooms in sesame oil with 1 minced garlic clove for 4-5 minutes until golden and tender. Season with salt and a dash of soy sauce if desired.
- Bean sprouts: Quickly blanch in boiling water for 1 minute, drain, and toss with sesame oil and a pinch of salt.
Time-saving tip: You can cook vegetables simultaneously using multiple pans, or prep them all in advance and store in separate containers in the fridge.
Step 4: Cook Your Protein
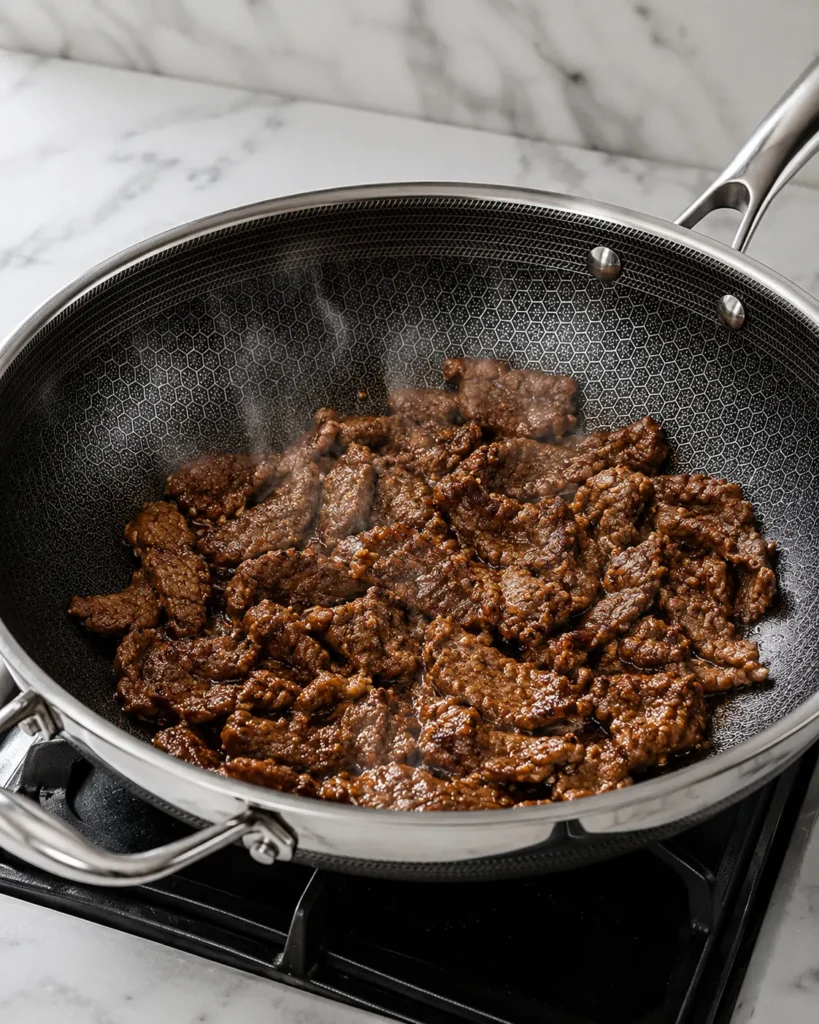
- For beef bibimbap: Heat a large skillet over high heat. Add the marinated beef in a single layer and cook for 2-3 minutes without stirring to get a nice sear. Flip and cook for another 1-2 minutes until cooked through. Don’t overcrowd the pan, cook in batches if needed.
- For chicken: Season with salt and pepper, then cook in sesame oil over medium-high heat for 5-6 minutes per side until golden and cooked through.
- For tofu: Pan-fry the tofu in sesame oil over medium-high heat until golden and crispy on all sides, about 3-4 minutes per side. You can also marinate the tofu in the beef marinade for extra flavor.
Step 5: Fry the Eggs
In a clean skillet, heat a little oil over medium heat. Crack the eggs and fry them sunny-side up until the whites are set but the yolks are still runny, this should take about 3-4 minutes. The runny yolk acts as an extra sauce when you mix everything together. It’s pure magic!

Step 6: Crisp the Rice (Optional but Recommended!)
Here’s where you can take your Korean bibimbap recipe from good to absolutely incredible. Heat 2 tablespoons of sesame oil in a large skillet or stone bowl (dolsot) over medium-high heat. Add the cooked rice and press it down into an even layer. Let it cook undisturbed for 5-7 minutes until the bottom gets crispy and golden. This crispy rice layer is called nurungji, and it’s what makes bibimbap truly special.
If you’re short on time, you can skip this step and use warm rice straight from the rice cooker, it’ll still be delicious!
Step 7: Assemble Your Bibimbap Bowls
Now comes the fun part, building your beautiful bowls! Here’s how to make them Instagram-worthy:
- Divide the rice among four large bowls (if you made crispy rice, carefully scoop it out with a spatula, trying to keep some of that golden crust intact)
- Arrange the vegetables in separate sections around the bowl, creating a colorful wheel pattern
- Place your cooked protein in the center
- Top with a fried egg
- Drizzle generously with your bibimbap sauce
- Sprinkle with toasted sesame seeds and sliced green onions
- Add a side of kimchi if using
Step 8: Mix and Enjoy!
The traditional way to eat bibimbap is to mix everything together right before eating, that’s where the “mixed rice” name comes from! Use your spoon or chopsticks to break the egg yolk and thoroughly combine all the ingredients with the sauce. Every bite should have a little bit of everything.

Pro Tips for Bibimbap Success
Use Day-Old Rice for the Best Texture
If there’s one trick that really makes a difference, it’s using day-old rice. Fresh rice holds too much moisture and can turn soft instead of crispy. Leftover rice dries out just enough to create that lightly toasted bottom everyone loves. In a pinch, spread fresh rice on a baking sheet and chill it for about 30 minutes to help it firm up.
Prep Ahead to Make Weeknights Easy
This bibimbap recipe is a dream for meal prep and busy schedules. Cook your vegetables and protein ahead of time and store everything in separate containers in the fridge. When you’re ready to eat, all that’s left is reheating and assembling your bowl. It’s a simple way to enjoy homemade bibimbap all week without extra stress.
Don’t Be Afraid to Mix Up the Veggies
Bibimbap is meant to be flexible, especially for home cooks. While traditional versions use specific Korean vegetables, you can absolutely work with what you already have. Bell peppers, cucumbers, radishes, zucchini, or green beans all fit right in. The goal is color, texture, and balance there’s no wrong combination here.
Adjust the Heat to Your Taste
The spice level is completely in your control with this dish. If you’re sensitive to heat, start with less gochujang and add a little extra honey or sugar to mellow it out. You can always drizzle on more sauce later. Bibimbap should be bold and flavorful, not overwhelming.
Try a Stone Bowl for Extra Crunch
If you own a Korean stone bowl, this is the perfect time to use it. Heating the bowl before assembling your bibimbap helps crisp the rice as you eat, adding amazing texture. Just remember that the bowl stays hot for a long time, so handle it carefully and keep it off delicate surfaces.
Ingredient Substitutions:
- Can’t find gochujang? Mix sriracha with a little miso paste and honey as a substitute for your bibimbap sauce recipe
- No sesame oil? Use olive oil with a sprinkle of toasted sesame seeds for flavor
- Skip the beef? Ground turkey, pork, or even leftover rotisserie chicken works perfectly
- No short-grain rice? Medium-grain or jasmine rice will work, though the texture will be slightly different
Delicious Variations to Try
Vegetarian Bibimbap
This version is perfect if you want to keep things meat-free without sacrificing flavor. Load your bowl with colorful vegetables and add protein-rich tofu, mushrooms, or seasoned tempeh. Everything soaks up the bibimbap sauce beautifully, making this vegetarian bibimbap just as hearty and satisfying as the classic.
Seafood Bibimbap
Swapping beef for seafood is an easy way to change things up. Sautéed shrimp, tender squid, or flaky salmon all pair wonderfully with rice and vegetables. Keep the seasoning simple and let the fresh seafood shine alongside the bold sauce.
Breakfast Bibimbap
Yes, breakfast bibimbap is a thing—and it’s surprisingly delicious. Use ingredients like sausage, crispy bacon, scrambled eggs, and roasted potatoes for a morning-inspired twist. It’s a great way to turn leftovers into a filling brunch bowl that still feels cozy and familiar.
Low-Carb Bibimbap
For a lighter take, cauliflower rice works really well as a substitute for traditional rice. It still carries all the flavors of the vegetables, protein, and sauce without feeling heavy. This low-carb bibimbap is perfect if you want something nutritious but satisfying.
Spicy Pork Bibimbap
If you love bold, spicy flavors, this variation is for you. Thinly sliced pork marinated in gochujang, soy sauce, honey, and garlic adds serious depth and heat. Once cooked, it becomes sticky, savory, and absolutely irresistible in a hot bibimbap bowl.
Storage and Reheating Instructions
How to Store Bibimbap the Right Way
For the best results, store your bibimbap components separately. Keep the rice, vegetables, and protein in individual airtight containers in the refrigerator for up to four days. Store the bibimbap sauce in a small jar, and always fry your eggs fresh right before serving. This keeps everything tasting vibrant and prevents sogginess.
Storing Leftover Assembled Bowls
If your bibimbap is already mixed together, no worries it still stores well. Transfer leftovers to an airtight container and refrigerate for up to three days. The texture won’t be quite as crisp as day one, but the flavors continue to meld and stay delicious.
Reheating Bibimbap in the Microwave
The microwave is the quickest way to reheat bibimbap on busy days. Place the rice and toppings (or a fully assembled bowl) in a microwave-safe dish and cover with a damp paper towel to keep things from drying out. Heat for 2–3 minutes until warmed through, then finish with a freshly fried egg.
Reheating on the Stovetop for Best Flavor
This stovetop method is a favorite for a reason. Heat a small amount of sesame oil in a skillet, add the rice and toppings, and cook over medium-high heat for 3–4 minutes. You’ll get slightly crispy rice and deep, savory flavor almost like a Korean-style fried rice.
Freezing Bibimbap Components
Rice and protein freeze surprisingly well and can be stored for up to two months. Vegetables, however, tend to release too much water once thawed, so it’s best to keep those fresh. Freeze everything separately, thaw overnight in the fridge, and reheat using your preferred method for the best texture.
How to Serve Korean Bibimbap
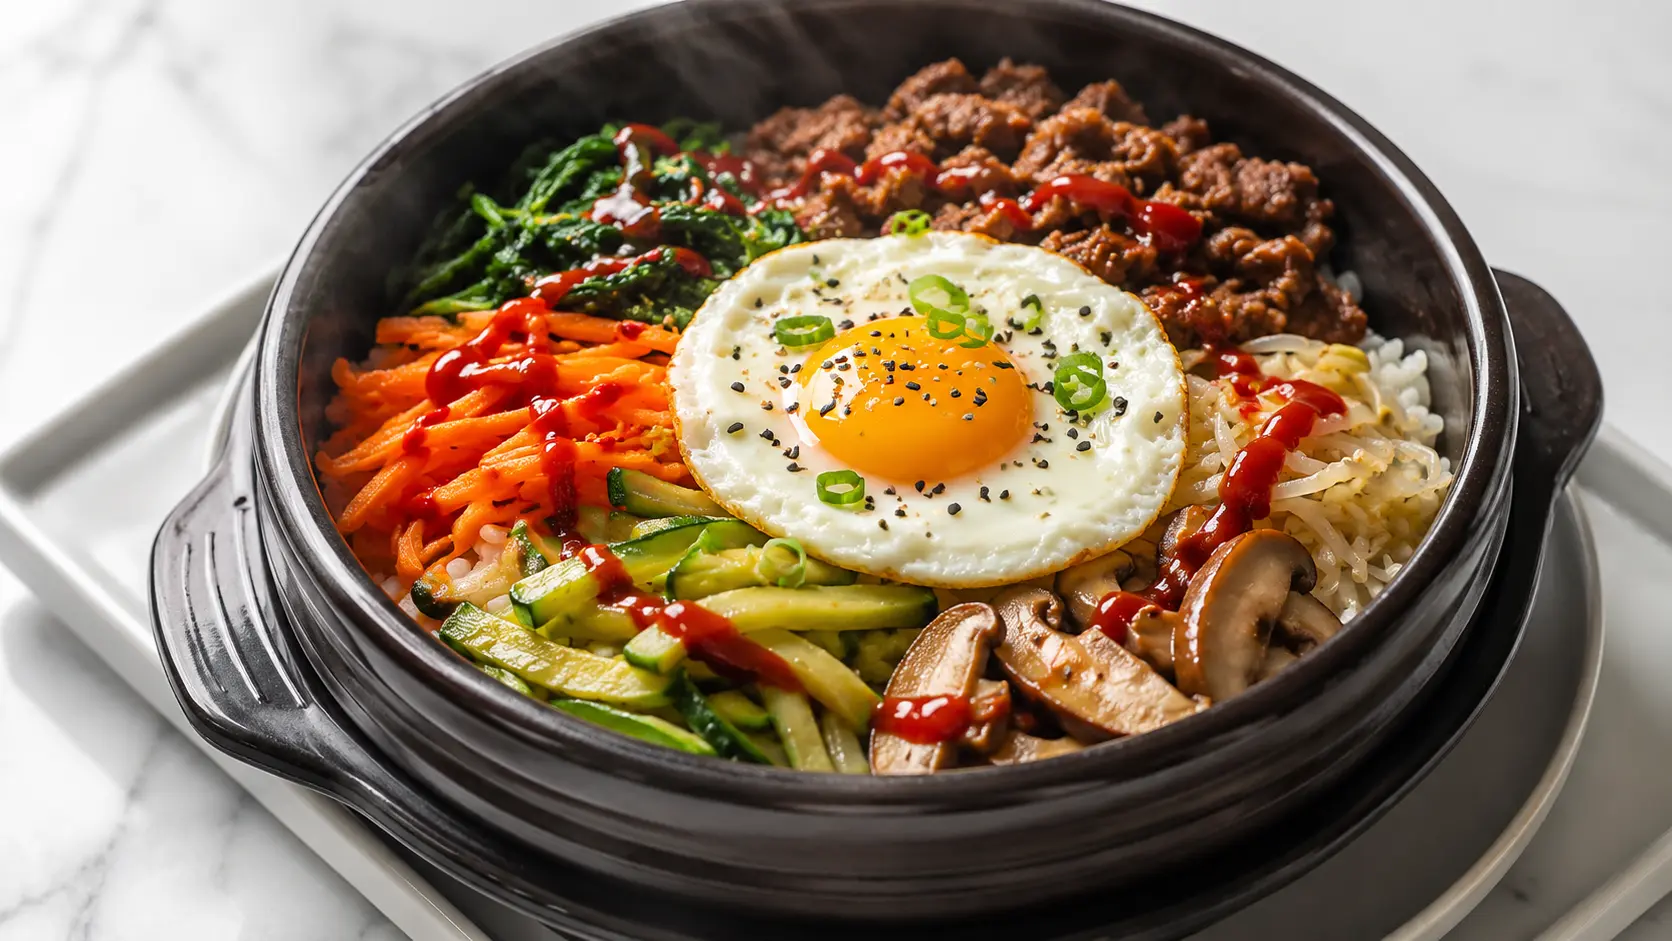
Korean bibimbap is best served warm, with each ingredient arranged neatly over a bowl of freshly cooked rice for both flavor and visual appeal. Start by placing the rice at the bottom, then layer the seasoned vegetables and protein in small sections so every bite feels balanced. A sunny-side-up or lightly fried egg is traditionally placed on top, letting the yolk add richness when mixed in. Serve bibimbap with gochujang sauce on the side so everyone can adjust the spice level to their taste. Just before eating, mix everything together thoroughly to coat the rice and toppings in sauce. Bibimbap is often enjoyed straight from the bowl, but it also pairs well with simple Korean side dishes like kimchi or pickled radishes. For an authentic touch, serve it hot and enjoy it right away while the textures are at their best.
Bibimbap FAQs
What does bibimbap taste like?
Bibimbap is a beautiful harmony of flavors and textures. You’ll taste savory from the seasoned rice and protein, sweet and spicy from the gochujang sauce, nutty notes from the sesame oil, and fresh vegetal flavors from the assorted vegetables. When you break that runny egg yolk and mix everything together, it creates a creamy, rich sauce that ties all the components together. It’s comfort food at its finest satisfying, balanced, and completely crave-worthy!
Do I need special ingredients to make bibimbap?
Not really! While gochujang (Korean red chili paste) is the one ingredient that makes this bibimbap recipe authentically Korean, most other ingredients are pantry staples. You can find gochujang at most grocery stores now in the international aisle, or order it online. The vegetables are completely flexible use what you have! The beauty of bibimbap is its adaptability.
Can I make bibimbap vegetarian or vegan?
Absolutely! A vegetarian bibimbap is incredibly popular and just as delicious as the meat versions. Simply skip the meat and load up on vegetables, tofu, or mushrooms. For a vegan version, omit the egg or use a vegan egg substitute, and replace the honey in the sauce with maple syrup or agave nectar. You’ll still have a nutritious, filling meal that’s bursting with flavor.
What’s the difference between bibimbap and dolsot bibimbap?
Great question! Regular bibimbap is served in a regular bowl at room temperature or slightly warm. Dolsot bibimbap is served in a hot stone bowl (dolsot), which continues to cook and crisp the rice as you eat. The stone bowl creates that amazing crunchy rice crust on the bottom and sides. If you have a stone bowl, definitely try it, it takes this Korean bibimbap recipe to the next level! Just be careful; those bowls stay hot for a long time.
Can I meal prep bibimbap for the week?
Yes! This is one of the best meal-prep recipes out there. Cook all your components on Sunday; the rice, vegetables, and protein, and store them separately in the fridge. When you’re ready to eat, simply heat up the portions you need, fry a fresh egg, and assemble. The components stay fresh for 4-5 days, and you’ll have a healthy, delicious lunch or dinner ready in minutes.
What should I serve with bibimbap?
Honestly, bibimbap is such a complete meal that you don’t need much else! The dish already contains protein, vegetables, and grains. However, traditional Korean side dishes (banchan) like kimchi, pickled radishes, or seasoned bean sprouts make wonderful accompaniments. A simple miso soup or clear broth also pairs nicely.
Is bibimbap healthy?
Yes! This bibimbap recipe is incredibly nutritious and well-balanced. You’re getting complex carbohydrates from the rice, lean protein from the meat or tofu, healthy fats from the sesame oil and egg, and tons of vitamins and minerals from all those colorful vegetables. It’s high in fiber, packed with nutrients, and relatively low in calories considering how filling it is. Plus, you control all the ingredients, so you can adjust salt, oil, and spice levels to fit your dietary needs.
More Flavorful Korean Recipes
Shop This Recipe
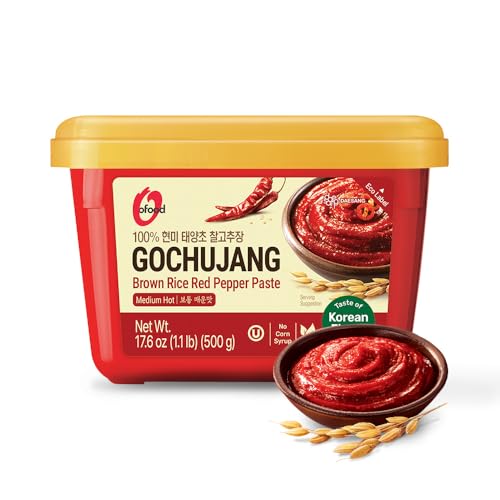

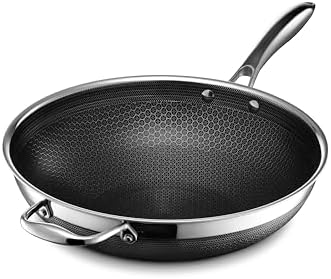


As an Amazon Associate, I earn from qualifying purchases. This means that if you click on an Amazon link on my site and make a purchase, I may receive a small commission at no extra cost to you.
Korean Bibimbap Recipe: How to Make It in 30 Minutes
Ingredients
Method
- Make bibimbap sauce by mixing gochujang, sesame oil, rice vinegar, honey, and garlic
- Marinate and cook protein of choice
- Prepare and season vegetables individually
- Fry eggs sunny-side up
- Optional: Crisp rice in sesame oil
- Assemble bowls with rice, vegetables, protein, and egg
- Drizzle with sauce and mix before eating