Belgian Waffle Recipe Without Milk
This waffle recipe without milk makes crispy, fluffy dairy-free waffles using simple ingredients. An easy homemade breakfast ready in minutes.
Published: Mar 15, 2026 | By Ilyas Siaghy
Introduction
I’ve had plenty of mornings when I’ve opened the fridge, ready to make waffles, only to realize I’m completely out of milk. Usually, I’d change plans and make something else, but one weekend I decided to work with what I already had in the kitchen. I pulled out my waffle maker, mixed up the batter with a few simple ingredients, and hoped for the best.
That’s how I ended up making this Belgian Waffle Recipe Without Milk, and it quickly became one of those recipes I keep in mind for lazy weekend mornings. The batter comes together easily, so there’s no need for a special trip to the grocery store just to buy milk. I can mix everything while the waffle maker heats up, then pour in the batter and let it do its thing.
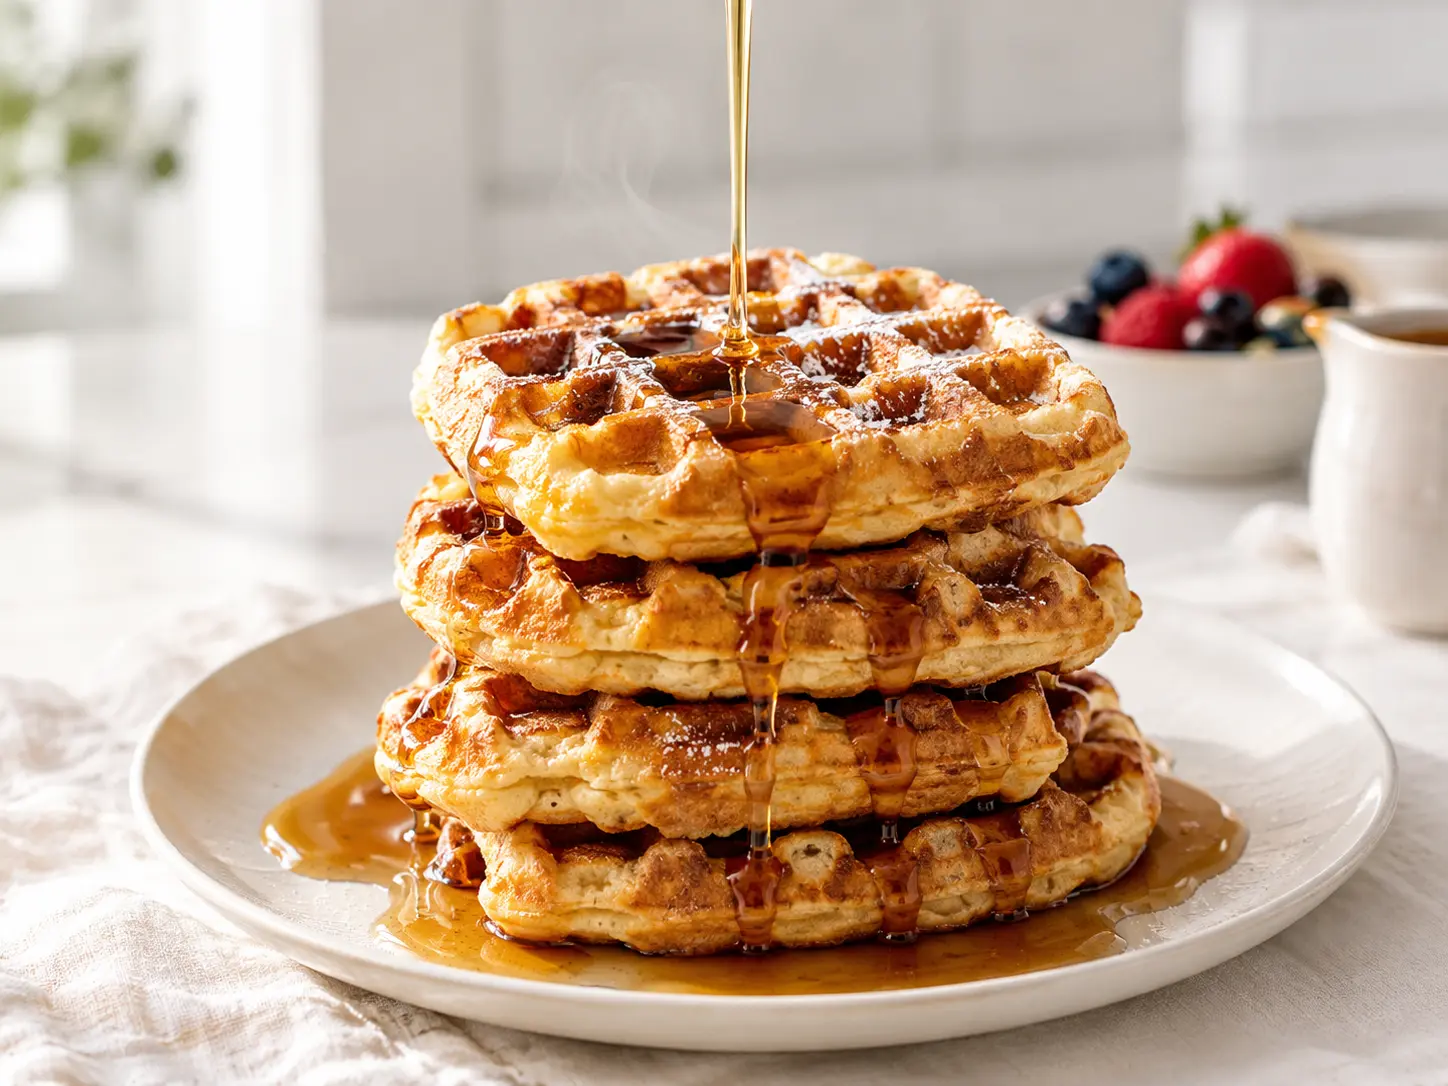
I usually serve these waffles while they’re still warm, with fresh berries, sliced bananas, a little maple syrup, or simply a dusting of powdered sugar. They’re also great when I want something sweet in the morning without spending an hour in the kitchen. If you’ve ever found yourself craving homemade Belgian waffles but realized you’re out of milk, this recipe is exactly the kind of recipe worth keeping handy.
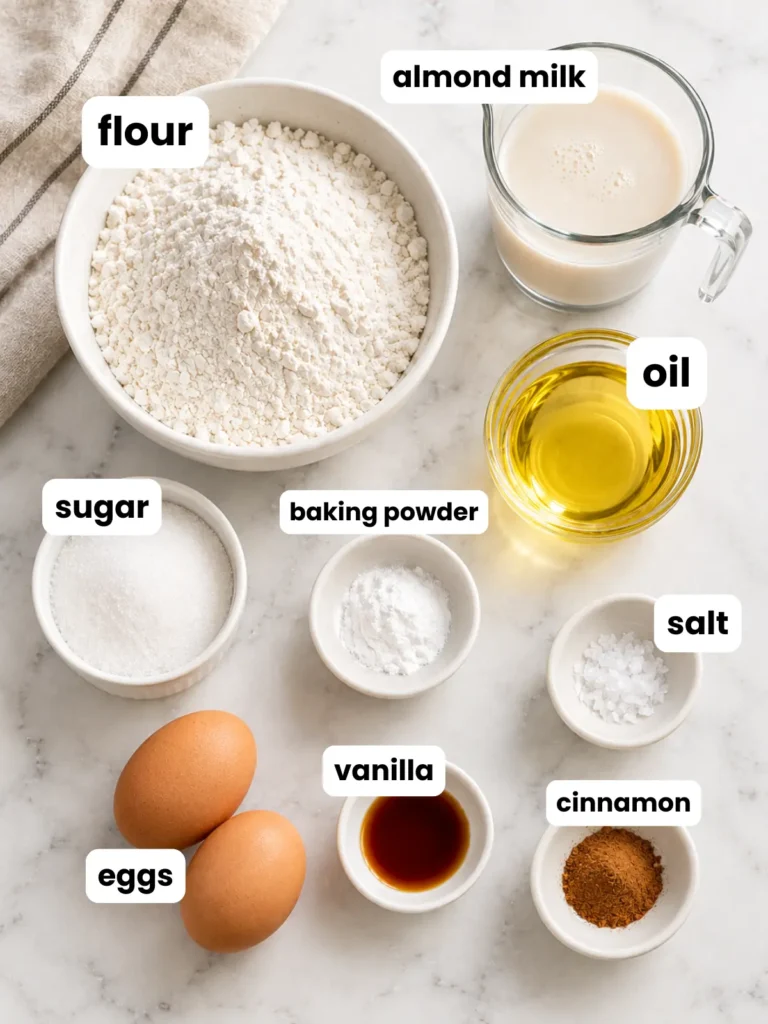
Ingredients for the Best Waffle Recipe Without Milk
Dry Ingredients:
- 2 cups all-purpose flour
- 2 tablespoons granulated sugar
- 1 tablespoon baking powder
- ½ teaspoon salt
- 1 teaspoon cinnamon (optional, but highly recommended!)
Wet Ingredients:
- 1¾ cups unsweetened almond milk (or oat milk, soy milk, or coconut milk)
- 2 large eggs
- ⅓ cup neutral oil (vegetable, canola, or melted coconut oil)
- 1 teaspoon pure vanilla extract (always pure, never imitation. The difference in aroma when the batter hits the hot iron is genuinely noticeable).
- Cooking spray or a little extra oil for greasing
Ingredient Notes:
- Almond milk is the top pick here, its light texture closely mimics regular milk in baking, making it ideal for these almond milk waffles. Use unsweetened to keep the sweetness in check.
- Oat milk is a fantastic second choice, it’s slightly creamier and gives an even richer waffle.
- Coconut milk (the carton variety, not the full-fat canned kind) works great too and adds a lovely subtle tropical note.
- For a vegan or egg and dairy free waffle option, see the substitutions in the Tips section below.
Tools You’ll Need
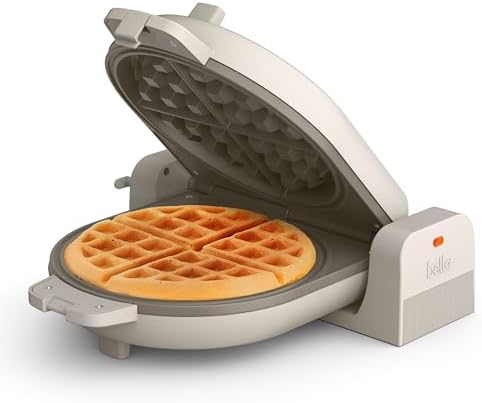
- Belgian Waffle Iron: The most important tool in this recipe and the one thing you simply cannot substitute, a Belgian waffle iron’s deep grid pockets are what create the crispy exterior, fluffy interior, and signature wells that hold maple syrup. If you don’t own one yet, this recipe is the reason to finally get it.
- Wire Cooling Rack: I’ve said it three times in this recipe because it matters that much: waffles placed on a plate steam themselves soggy in under two minutes. A wire rack lets hot air circulate underneath, keeping that golden, crispy exterior intact from the iron to the table.
- Two Mixing Bowls (Large + Medium): This recipe keeps dry and wet ingredients separate until the last moment, which is the key to not overmixing the batter. Having two bowls ready before you start means you won’t be hunting for a second one mid-recipe with eggy hands.
- Digital Kitchen Scale (optional but recommended): The recipe includes a beginner tip about measuring flour correctly because over-packed flour is the #1 cause of dense, heavy waffles. A scale removes that variable entirely, 240g of flour is always exactly right, no matter how you scoop.
How to Make Waffles Without Milk (Step by Step)
Step 1: Preheat Your Waffle Iron
- Turn on your Belgian waffle iron and set to medium-high heat. A properly heated iron is the number one secret to crispy waffles.
- Once preheated, lightly spray the top and bottom plates with cooking spray or brush with a little oil.
Beginner tip: Most waffle irons have a light that tells you when it’s ready. If yours doesn’t, do a water drop test and flick a drop of water onto the plate. If it sizzles immediately, you’re good to go.
Step 2: Mix the Dry Ingredients
- Grab a large mixing bowl and add your flour, sugar, baking powder, salt, and cinnamon if using.
- Whisk everything together for about 30 seconds until it’s evenly combined.
- Make a well (a little indent) in the center of the dry ingredients. This makes mixing in the wet ingredients much easier and helps prevent overmixing.
Beginner tip: Or better yet, use a digital kitchen scale — 240g of flour is always exact, no matter how you scoop. It’s the upgrade that permanently fixed my inconsistent waffle batches.
Step 3: Mix the Wet Ingredients
- In a separate medium bowl or large measuring jug, crack in your two eggs.
- Add the almond milk, oil, and vanilla extract.
- Whisk briskly until the eggs are fully beaten and all the wet ingredients are combined, about 1 minute.
If your oil is solidified (like coconut oil), melt it briefly in the microwave and let it cool for 2 minutes before adding to the eggs so you don’t accidentally scramble them.
Step 4: Combine Wet and Dry Ingredients
- Pour the wet ingredient mixture into the well you made in the dry ingredients.
- Using a spatula or wooden spoon, stir gently to combine. Mix just until the large streaks of flour disappear.
- Stop mixing as soon as the batter comes together, a few small lumps are totally fine and actually a good sign! Overmixing activates gluten and leads to tough, chewy waffles instead of light, fluffy ones.
- Let the batter rest for 3–5 minutes while your waffle iron finishes heating up. This rest allows the baking powder to start working and results in a fluffier waffle.
Step 5: Cook the Waffles
- Pour approximately ¾ cup of batter (or follow your waffle iron’s guide, irons vary!) onto the center of the preheated, greased waffle iron.
- Close the lid gently. Do not press down hard.
- Cook for 3 to 4 minutes, or until steam stops coming out of the sides of the iron. This is the most reliable indicator that your waffle is done, when the steam slows to almost nothing, your waffle is cooked through.
- Open the iron carefully and check the color. You’re looking for a deep golden brown, not pale yellow (undercooked) and not dark brown (overcooked).
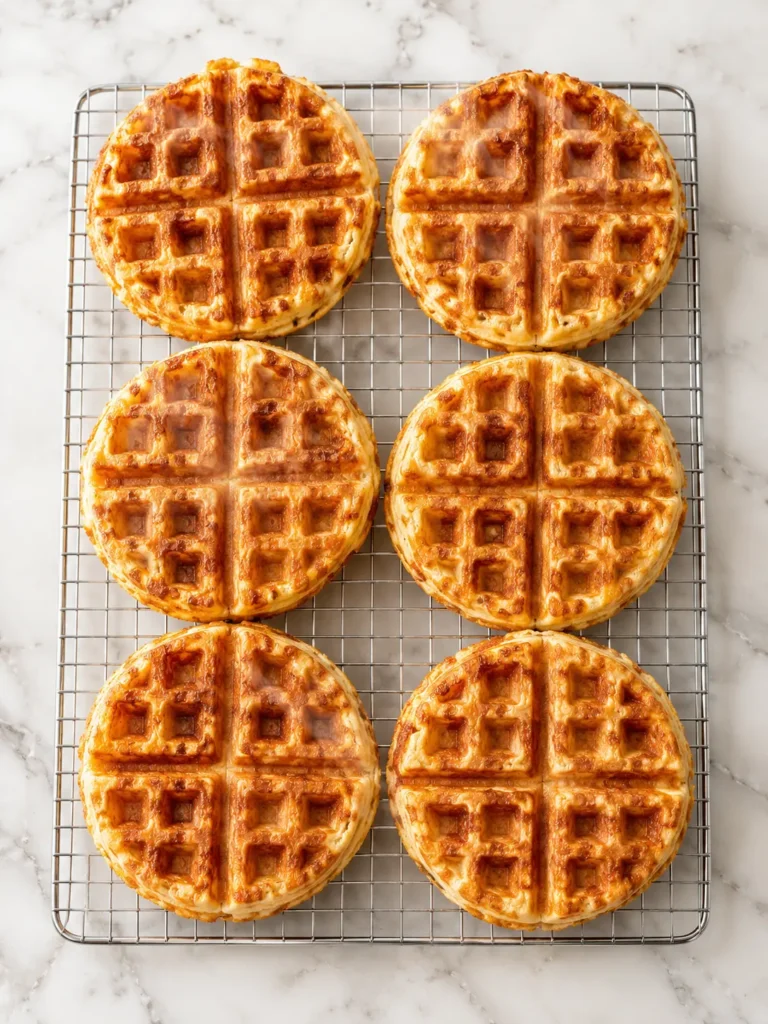
- Place on a wire cooling rack, not a plate, air circulation underneath is what keeps the bottom crispy. This is the detail that separates good waffles from great ones.
- Re-grease the iron lightly before each new waffle and repeat until all the batter is used.
Resist opening the waffle iron early! Opening before the steam stops is the number one reason waffles tear in half.
Step 6: Serve and Enjoy!
- Serve your dairy-free waffles immediately for maximum crispiness, or keep them warm in a 200°F (93°C) oven on a wire rack while you cook the remaining batches.
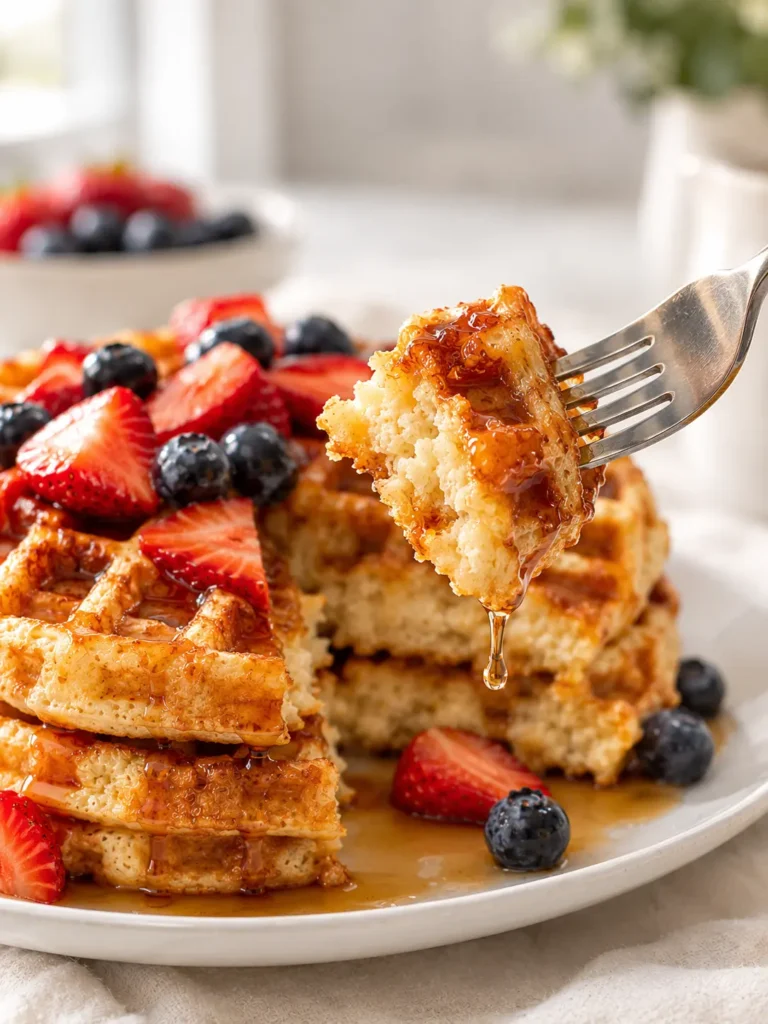
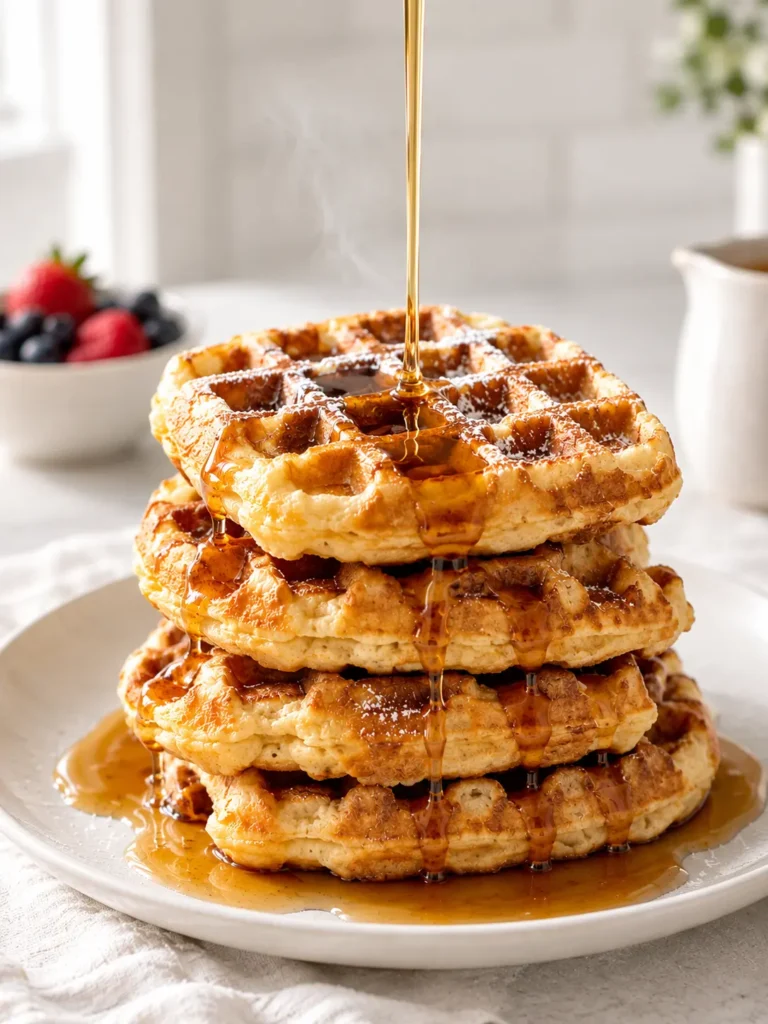
- Top with your favorites, fresh berries, maple syrup, dairy-free whipped cream, sliced bananas, or a dusting of powdered sugar.
Pro Tips for Perfect Dairy-Free Waffles Every Time
- Don’t skip the resting time. Those 3–5 minutes of batter rest make a real difference in fluffiness. Use that time to set out your toppings!
- Oil is your best friend here. Because there’s no dairy fat in this dairy free waffle recipe, the oil is doing double duty, adding richness and helping create that gorgeous crispy exterior. Don’t try to reduce it too much.
- Separate the eggs for extra fluff. If you really want to go the extra mile, separate the egg yolks from the whites. Mix the yolks in with the wet ingredients as usual, then beat the whites to stiff peaks and fold them into the finished batter. This technique creates the lightest, most restaurant-quality Belgian waffles you’ve ever made at home.
- Keep them crispy. The golden rule: wire rack, not a plate. And never stack them directly on top of each other, they’ll steam and go soft.
Dairy-Free Milk Substitutions
This easy waffle recipe without milk works with any plant-based milk:
- Almond milk: light, slightly nutty, excellent texture. Best all-around pick for these waffles.
- Oat milk: creamy, neutral, gives a richer result. Great if you prefer a more “buttermilk” style waffle.
- Soy milk: higher in protein, slightly denser result, still delicious.
- Coconut milk (carton, not canned): subtle coconut flavor, beautiful golden color.
- Cashew milk: very creamy, almost like using whole milk. A wonderful option if available.
Fun Flavor Variations
- Blueberry waffles: Fold ½ cup fresh or frozen blueberries into the finished batter
- Chocolate chip waffles: Add ⅓ cup dairy-free chocolate chips, kid-approved instantly
- Cinnamon vanilla waffles: Double the cinnamon and add ½ teaspoon almond extract alongside the vanilla
- Savory waffles: Omit the sugar and vanilla, add ¼ teaspoon garlic powder, fresh chives, and shredded dairy-free cheese. Serve with avocado and a fried egg on top!
- Pumpkin spice waffles: Add ¼ cup pumpkin puree, ½ teaspoon pumpkin spice blend. Perfect for fall mornings!
How to Store Dairy-Free Waffles
One of the best things about this belgian waffle recipe without milk is that it stores and reheats beautifully, making it perfect for meal prep!
- Refrigerator: Allow waffles to cool completely on a wire rack, then store in an airtight container or zip-top bag with layers of parchment paper between each waffle to prevent sticking. They’ll keep well in the fridge for up to 4 days.
- Freezer: This is where this recipe really shines as a time-saving hack. Freeze cooled waffles in a single layer on a baking sheet for 1–2 hours, then transfer to a freezer bag. They’ll keep for up to 3 months. You essentially make your own frozen waffles, but infinitely better!
Weekday hack: Make a double batch on Sunday, freeze them, and you’ve got grab-and-go breakfasts for the whole week. Toast one while you pack lunches, breakfast done in 90 seconds!

Frequently Asked Questions
Can I use water instead of milk in waffle batter?
You can, but the results won’t be quite as rich. If water is your only option, add an extra tablespoon of oil to compensate for the missing fat. The waffles will still work, but using any plant-based milk, even a small amount you might find at a coffee shop, will give you a much better result.
Why are my dairy-free waffles not crispy?
The most common culprits are: not preheating the iron long enough, opening the iron too early (before steam stops), placing cooked waffles on a plate instead of a wire rack, or using too little oil in the batter. Make sure your iron is fully hot before the first waffle goes in, and always use a wire rack!
Can I make this waffle batter ahead of time?
You can mix the batter and store it covered in the fridge for up to 24 hours. Give it a gentle stir before using, don’t beat it aggressively. Note that the baking powder begins activating once it’s mixed with liquid, so same-day batter will give you slightly fluffier results. That said, overnight batter still makes great waffles!
What’s the best dairy-free milk for waffles?
For this recipe, unsweetened almond milk is the top choice for its neutral flavor and light texture that behaves similarly to dairy milk in baking. Oat milk is a very close second for a creamier, richer result. Avoid full-fat canned coconut milk, which can make the batter too heavy.
Can I make these waffles gluten-free?
Yes! Substitute the all-purpose flour 1:1 with a good-quality gluten-free all-purpose flour blend (look for one that contains xanthan gum, which helps bind the batter). Bob’s Red Mill 1-to-1 Baking Flour and King Arthur Measure for Measure are both reliable options. The texture may be very slightly denser but still delicious.
How do I know when the waffle is done cooking?
The most reliable method is watching the steam. When the steam coming from the sides of your waffle iron slows significantly or stops, your waffle is done. On most irons this takes 3–4 minutes. An indicator light will tell you the iron is hot, but it won’t tell you the waffle is cooked through, trust the steam!
Can I double this recipe?
Absolutely, this recipe doubles (and even triples!) perfectly. Great for feeding a crowd or for batch cooking and freezing. Just make sure to mix in a large enough bowl; the batter will expand slightly as the baking powder activates.
More Easy Healthy Breakfast Ideas to Try
Disclosure: Global Food Eats is a participant in the Amazon Services LLC Associates Program, an affiliate advertising program designed to provide a means for sites to earn advertising fees by advertising and linking to Amazon.com.
Shop This Recipe



Belgian Waffle Recipe With Almond Milk (Easy Dairy-Free Waffles)
Ingredients
Equipment
Method
- Turn on your waffle iron and set it to medium-high heat. Allow it to fully preheat for at least 5 minutes. Once hot, lightly grease the top and bottom plates with cooking spray or a little oil.
- In a large mixing bowl, whisk together the flour, sugar, baking powder, salt, and cinnamon until evenly combined. Make a well in the center of the dry ingredients.
- In a separate bowl, whisk together the eggs, almond milk, oil, and vanilla extract until fully combined.
- Pour the wet ingredients into the well in the dry ingredients. Stir gently until just combined, do not overmix, small lumps are fine. Let the batter rest for 3 to 5 minutes.
- Pour approximately 3/4 cup of batter onto the center of the greased waffle iron. Close the lid and cook for 3 to 4 minutes, until steam slows and the waffle is deep golden brown. Remove to a wire rack. Repeat with remaining batter, greasing the iron before each waffle.
- Serve immediately with your favorite toppings such as maple syrup, fresh berries, dairy-free whipped cream, or sliced bananas. For maximum crispiness, always rest on a wire rack, not a plate.