
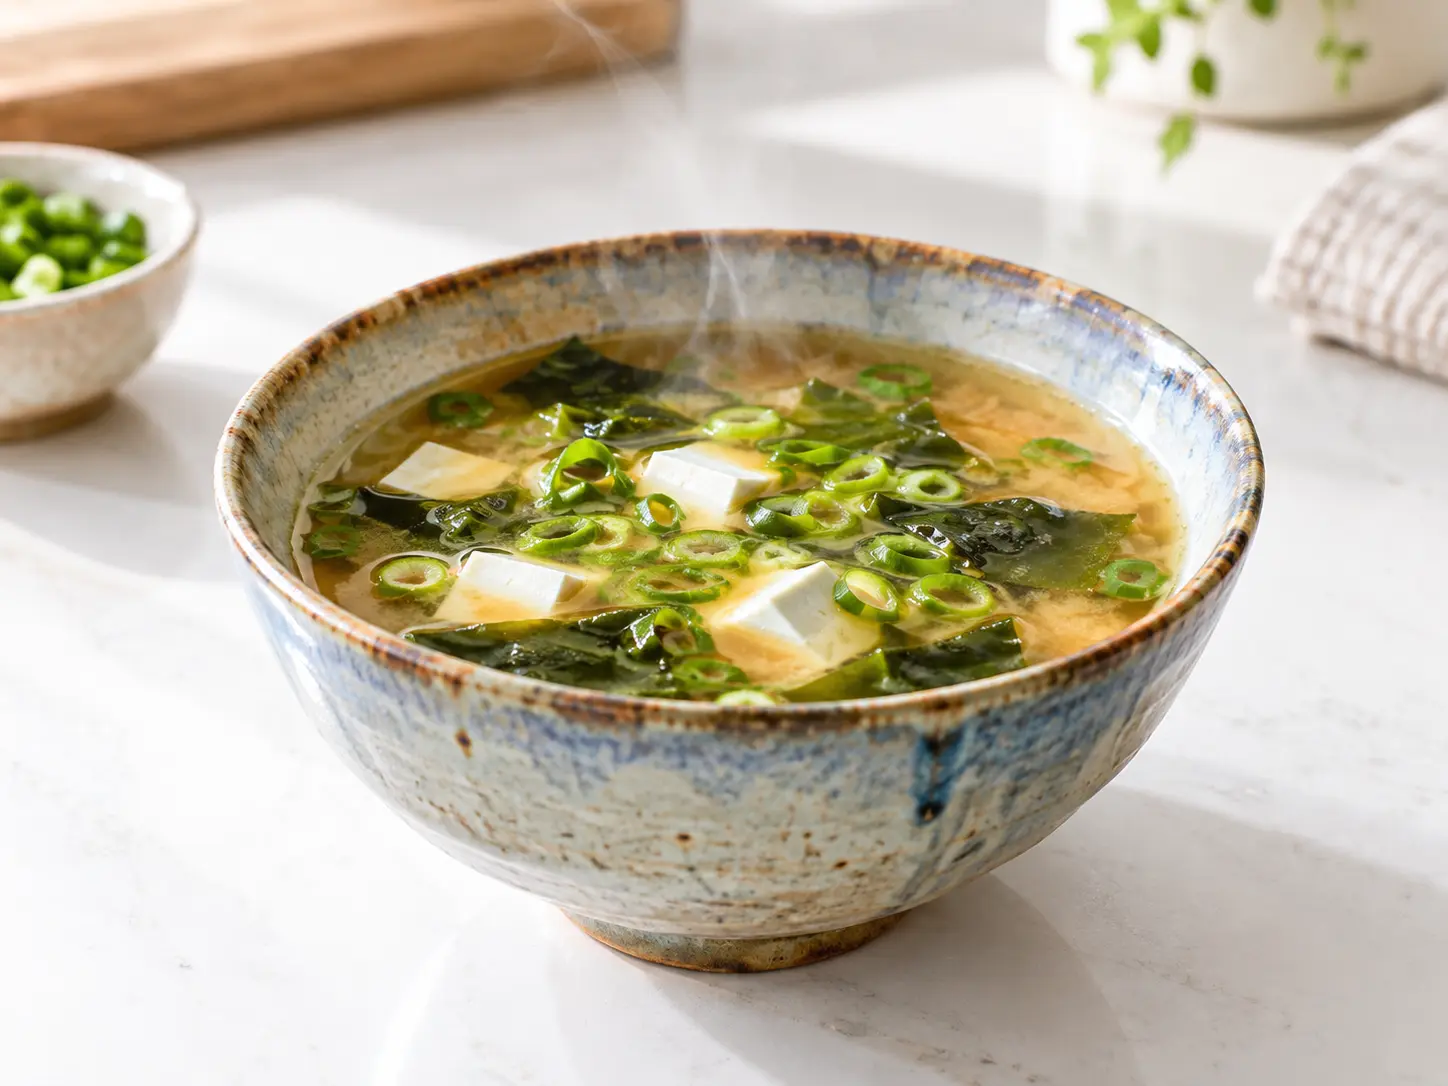
Miso Soup Recipe (味噌汁)
Warm up with this flavorful and authentic Japanese miso soup recipe. Easy to make at home with tofu, greens, and traditional seasonings!
Published: Jan 22, 2025 | By Ilyas Siaghy
Introduction
The first time I made miso soup at home, I honestly thought it would be one of those recipes that looked simple but somehow went wrong. I had my little bowl of miso paste, some tofu, dried wakame, and green onions sitting on the counter, wondering if I was about to make something that tasted anything like the miso soup I’d had at Japanese restaurants.
It turned out to be much easier than I expected. Once the broth was ready and the miso melted into it, the kitchen started smelling warm, savory, and comforting. I added the tofu and wakame, scattered a handful of sliced green onions over the top, and sat down with a steaming bowl.
Since then, this miso soup recipe has become one of those simple meals I come back to when I want something light but satisfying. There’s something really nice about making it from scratch, especially when you’re cooking quietly in the kitchen and don’t need a long list of ingredients or complicated steps. If you’ve ever ordered miso soup at a Japanese restaurant and wondered if you could make it yourself, this is a great place to start.
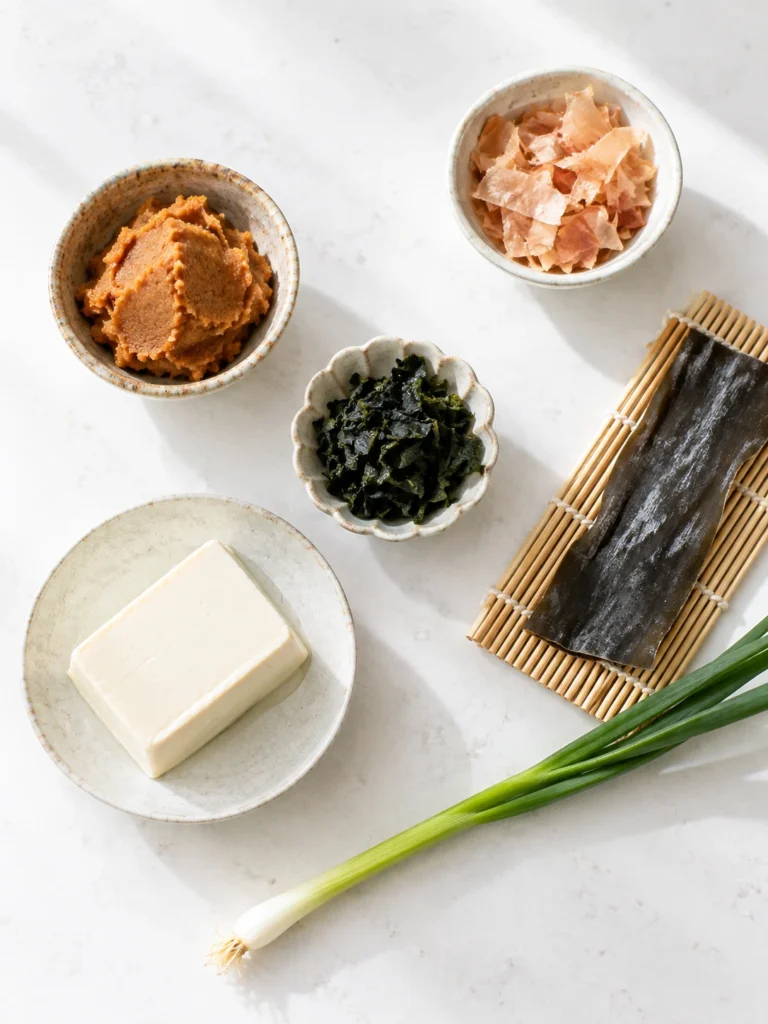
Ingredients for Miso Soup
For the Dashi (Japanese Stock):
- 4 cups water
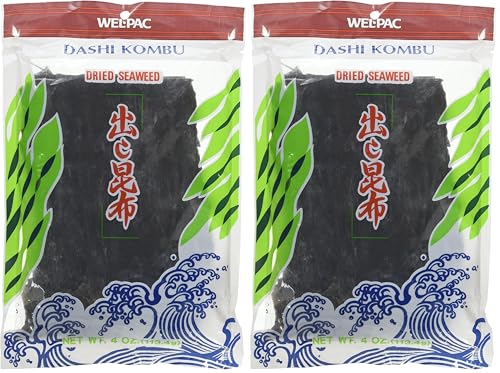
- 1 piece kombu (dried kelp), about 4×4 inches
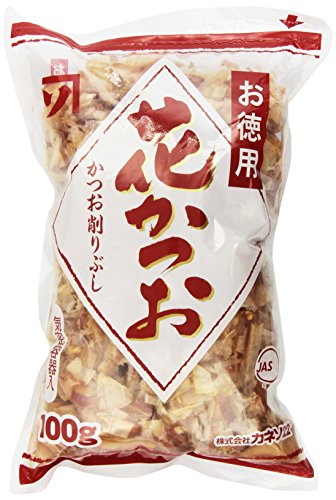
- 1 cup bonito flakes (katsuobushi) or use kombu-only for vegetarian miso soup
For the Miso Soup:
- 3-4 tablespoons miso paste (white, red, or mixed – see tips below)
- 8 ounces silken or soft tofu, cut into ½-inch cubes
- 2 tablespoons dried wakame seaweed
- 2-3 green onions (scallions), thinly sliced
- Optional: 4-6 shiitake mushrooms, sliced
Ingredient Notes & Sourcing Tips
- White Miso Paste: Find this in the refrigerated section of most grocery stores, near the tofu. White miso (shiro miso) is mildest and slightly sweet, while red miso (aka miso) is deeper and more robust. I love using a blend of both for complexity.
- Dashi: You can make it from scratch (I’ll show you how!) or use instant dashi powder for a quick miso soup recipe shortcut. Look for it in the Asian section of your supermarket or any Asian grocery store.
- Tofu: Silken tofu gives you that authentic restaurant texture, but medium-firm works too if that’s what you have. This miso soup with tofu is protein-packed and incredibly satisfying.
Tools You’ll Need
- Fine-Mesh Sieve: Straining the dashi is the step that separates a cloudy, gritty broth from a crystal-clear, restaurant-quality base, a fine-mesh sieve catches every fragment of bonito flake and kombu.
- Japanese Soup Bowls: Traditional lacquer bowls with lids keep miso soup steaming hot from pot to table, the enclosed warmth is part of what makes a bowl of miso feel like a proper Japanese meal, not just a side dish.
How to Make Miso Soup
Prepare Your Dashi (Step 1)
- The foundation of any great Japanese miso soup is the dashi – a simple but flavor-packed stock. Don’t skip this step! It’s what transforms this from “meh” to “wow.”
- Fill a medium pot with 4 cups of cold water. Add your dried kombu piece and let it soak for about 5 minutes if you have time (this deepens the flavor). Place the pot over medium heat and bring it almost to a boil – you’ll see small bubbles forming around the edges. Just before it reaches a rolling boil, remove the kombu with tongs.
- Now, add your bonito flakes (katsuobushi) and immediately turn off the heat. Let them steep for 5 minutes, just like you’re making tea. The flakes will sink to the bottom, releasing their smoky, oceanic flavor. Strain the dashi through a fine-mesh sieve into a clean bowl, gently pressing the bonito flakes to extract all that goodness.
For vegetarian miso soup: Skip the bonito flakes entirely and just use the kombu-infused water. You can also add dried shiitake mushrooms to the kombu for extra umami depth.
Rehydrate Your Wakame (Step 2)
While your dashi is steeping, place your dried wakame in a small bowl and cover it with cold water. It only needs about 5 minutes to fully rehydrate and will expand to about 3-4 times its original size. Once it’s soft and glossy, drain it and give it a quick rinse. Set it aside – you’ll add it near the end.
Prepare Your Tofu and Vegetables (Step 3)
- Cut your tofu into bite-sized cubes – I like ½-inch pieces because they’re easy to scoop with a spoon but substantial enough to be satisfying. Pat them gently with a paper towel if they’re very wet.
- Slice your green onions thinly, keeping the white and green parts separate. The white parts can go in earlier for a mellower flavor, while the green parts stay fresh and bright when added at the end.
- If you’re adding mushrooms or other vegetables, slice them thinly so they cook quickly and evenly.
Heat the Dashi and Add Tofu (Step 4)
- Return your strained dashi to the pot and bring it to a gentle simmer over medium heat. You want it hot but not aggressively boiling – miso is delicate and extreme heat can destroy some of its beneficial properties and complex flavors.
- Add your tofu cubes and any heartier vegetables (like mushrooms or thinly sliced carrots). Let them simmer gently for 2-3 minutes until heated through. The tofu will bob gently in the broth – it’s almost hypnotic to watch!
Step 5: Dissolve the Miso (Important Step)
- Here’s where many people go wrong, so pay close attention to this technique. Never add miso paste directly to boiling liquid and never boil miso after adding it. The heat will kill the beneficial probiotics and can make the flavor harsh and muddy.
- Turn your heat down to low. Take a ladle and scoop out about ½ cup of the hot dashi into a small bowl. Add 3-4 tablespoons of miso paste to this bowl. Using a whisk or fork, stir vigorously until the miso is completely dissolved and smooth – no lumps!
- Pour this miso mixture back into the pot through a small strainer (to catch any stubborn chunks) and stir gently to combine. Taste and adjust – you can always add more miso if you want a stronger flavor, but you can’t take it away.
Add Final Ingredients and Serve (Step 6)
- Add your rehydrated wakame and the green parts of the scallions. Give everything a gentle stir. Let it sit for just 30 seconds to warm through, then immediately remove from heat.
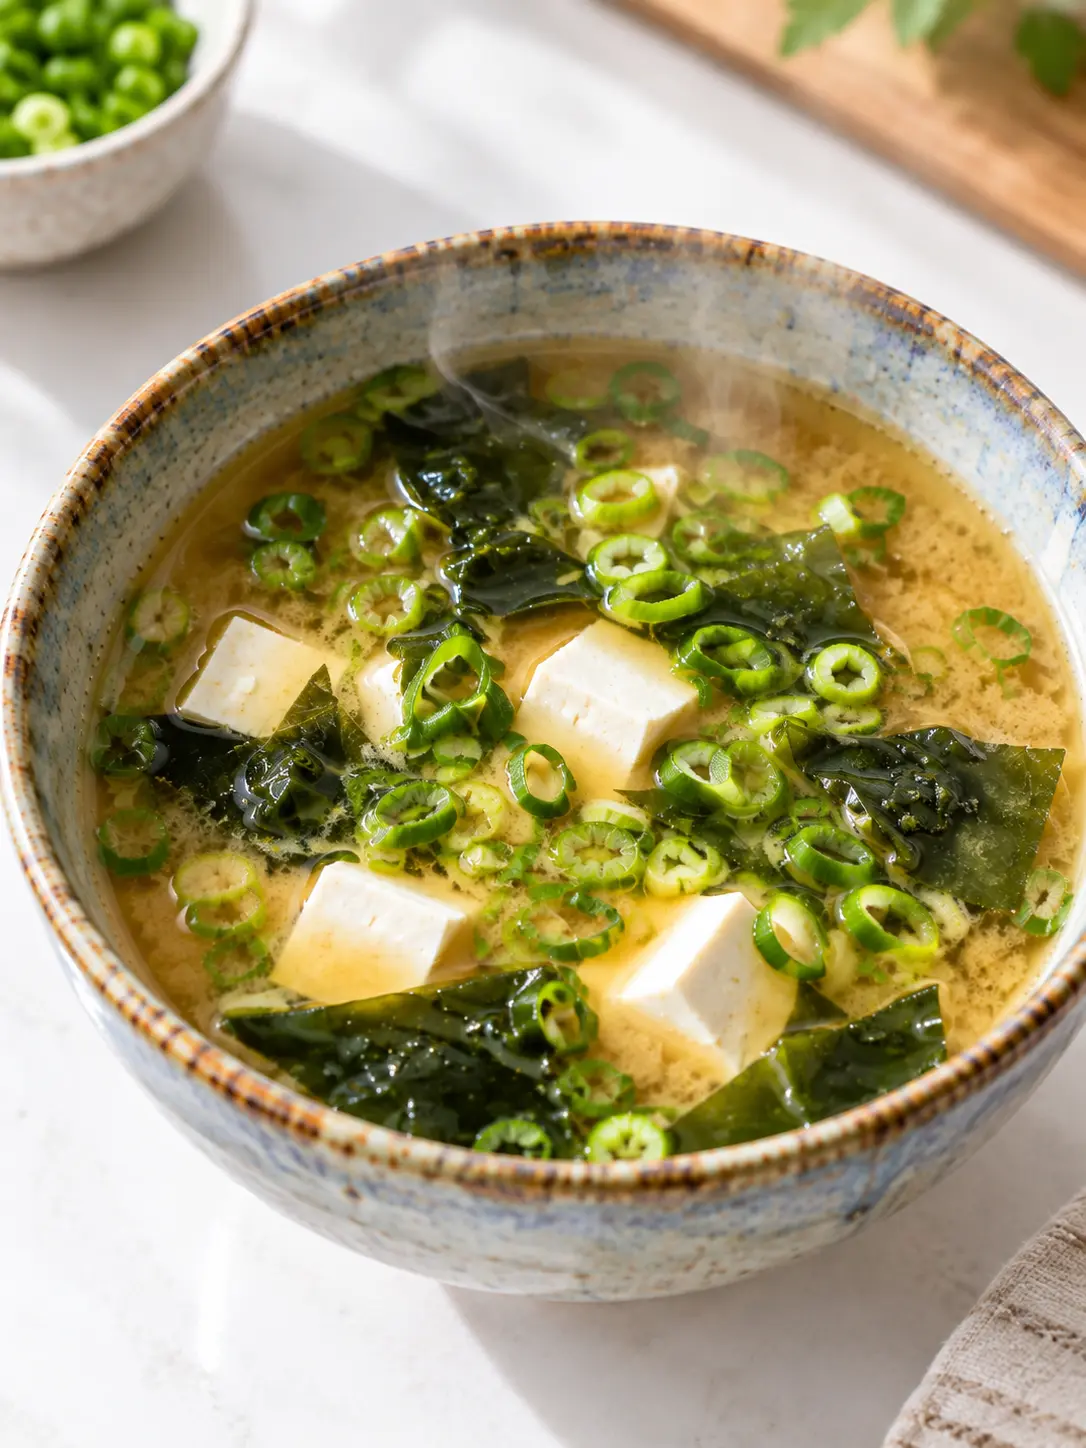
- Ladle your homemade miso soup into bowls, making sure each serving gets a nice distribution of tofu, wakame, and green onions. Serve immediately while it’s steaming hot.
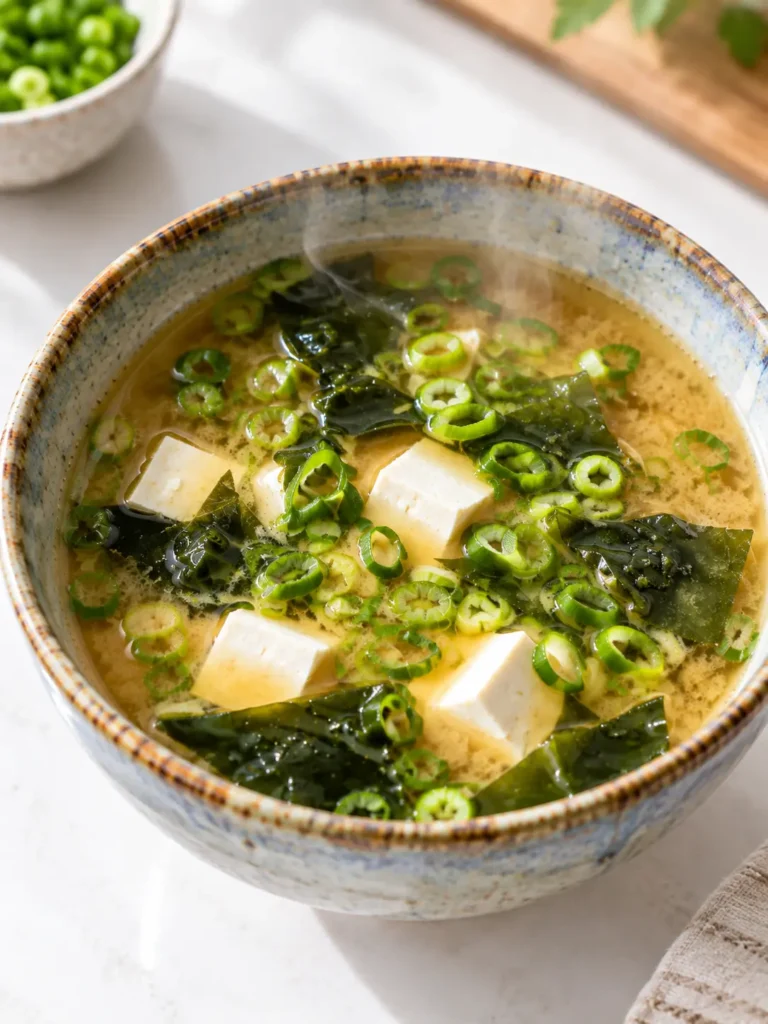
Pro Tips for Perfect Miso Soup
Temperature Matters
Keep your soup at a gentle simmer, never a rolling boil, especially after adding the miso. High heat destroys the delicate flavors and beneficial enzymes. Think of it as a warm bath, not a hot tub!
The Miso Mix Method
Can’t decide between white and red miso? Use both! I typically go with 2 tablespoons white miso and 1-2 tablespoons red miso for a beautifully balanced flavor that’s neither too sweet nor too salty.
Make-Ahead Dashi
You can prepare dashi in advance and refrigerate it for up to 5 days. This turns your miso soup into a truly quick miso soup recipe – just heat, add miso, and you’re done! I often make a double or triple batch on Sunday for easy weeknight soups.
Fresh vs. Dried Ingredients
While dried wakame is traditional and convenient, you can absolutely use fresh ingredients when available. Fresh wakame should be blanched briefly. Fresh shiitake mushrooms add incredible depth – just slice and simmer them in the dashi for 3-4 minutes.
Delicious Variations to Try
Spring Vegetable Miso Soup
Add asparagus tips, snap peas, and baby spinach for a light, seasonal twist. The bright green vegetables look gorgeous and add fresh flavor.
Hearty Winter Miso Soup
Bulk it up with sweet potato cubes, kabocha squash, and extra mushrooms. Add a handful of soba noodles for a complete meal.
Spicy Miso Soup
Stir in a teaspoon of chili oil or add fresh sliced chili peppers for a warming kick. Some gochugaru (Korean chili flakes) adds beautiful color and gentle heat.
Protein-Packed Miso Soup
Double the tofu, add edamame, and finish with a soft-boiled egg. This becomes a substantial lunch or light dinner.
Quick Weeknight Version
Use instant dashi powder, pre-cubed tofu from the package, and keep frozen chopped green onions on hand. You can have authentic-tasting soup on the table in under 10 minutes.
Storage and Reheating Instructions
Storing Leftovers
Here’s the tricky thing about miso soup – it’s really best enjoyed fresh. However, I know we’re all busy, so here’s how to store it properly:
Store the miso soup in an airtight container in the refrigerator for up to 2 days. The tofu may release some water and the texture can change slightly, but it’s still delicious. The wakame will continue to expand, so it might look more generous on day two!
Pro storage tip: If you know you’ll have leftovers, store the dashi and miso mixture separately from the tofu and vegetables. This keeps everything at peak freshness.
Reheating Method
Gently reheat miso soup over low-medium heat on the stovetop. Do NOT microwave or boil it aggressively – this destroys the delicate probiotic benefits and can make the tofu rubbery. Heat just until warmed through, about 3-4 minutes, stirring gently.
You may want to add a splash of water or extra dashi if it has thickened. Taste and adjust seasoning with a tiny bit more miso if needed.
Can You Freeze Miso Soup?
Honestly, I don’t recommend it. Tofu becomes grainy and spongy when frozen, and the miso flavor becomes muddy. If you absolutely must freeze it, freeze the dashi alone and add fresh miso, tofu, and vegetables when you’re ready to serve.
How to Serve Miso Soup
Serving miso soup properly enhances the entire experience and honors its Japanese origins. Always serve this authentic Japanese miso soup immediately after preparation in Japanese lacquer soup bowls with lids if you have them, they keep the soup hot and honor the traditional presentation. The soup should be steaming hot but not boiling then ladle the broth gently to ensure each serving gets an even distribution of tofu, wakame, and green onions for balanced flavor in every spoonful. For an authentic presentation, place the tofu cubes and wakame at the bottom of the bowl first, then pour the hot miso broth over them, finishing with a sprinkle of fresh green onions on top.
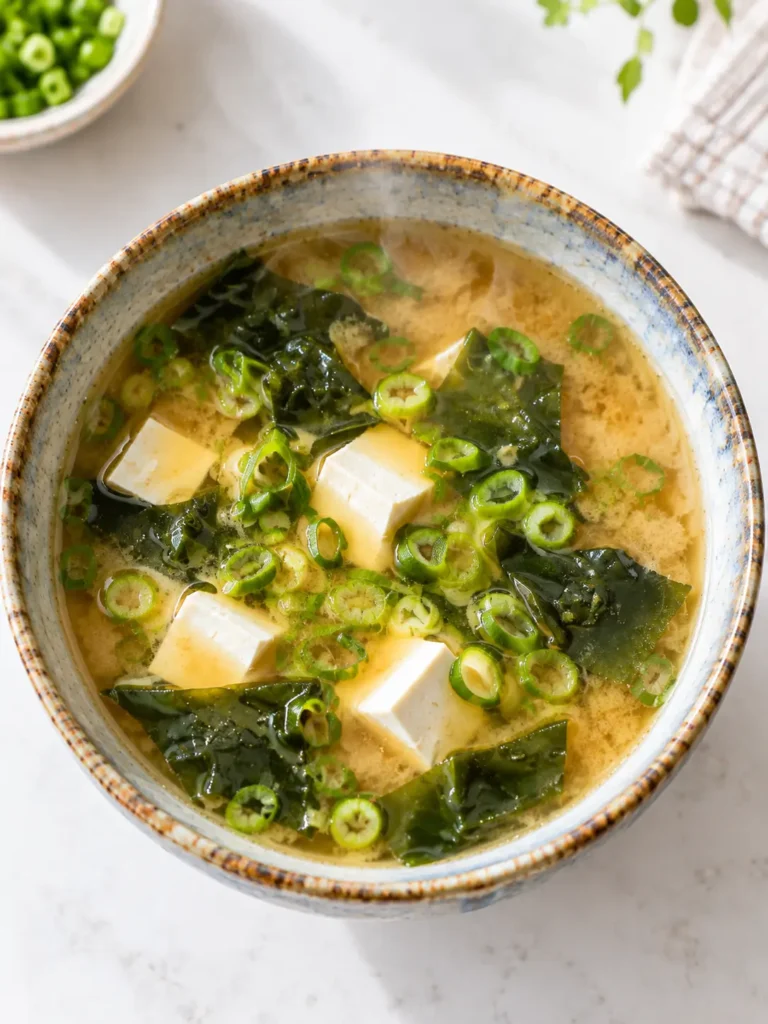
Miso Soup Recipe FAQs
What type of miso paste should I use?
For beginners, I recommend starting with white miso (shiro miso), which is mild, slightly sweet, and forgiving. As you get comfortable, experiment with red miso for deeper flavor or blend them together. Yellow miso falls right in the middle. Each region of Japan has its own traditional miso, so there’s no single “right” answer – it’s all about your taste preference!
Can I make miso soup without dashi?
You can, but it won’t be quite the same. Dashi provides that essential umami foundation. In a pinch, you can use a high-quality vegetable broth, but add a piece of kombu and some mushrooms to boost the umami. Some people use chicken or mushroom broth as a base, which creates a tasty soup, but it won’t be traditional Japanese miso soup.
Is miso soup healthy?
Absolutely! Miso is a fermented food packed with beneficial probiotics that support gut health. It’s also rich in B vitamins, vitamin K, and minerals. The tofu adds protein and calcium, while wakame provides iodine and other trace minerals. Just note that miso is high in sodium, so if you’re watching your salt intake, use it in moderation or look for lower-sodium varieties.
Why is my miso soup cloudy?
Miso soup is naturally supposed to be cloudy! That’s the miso paste suspended in the broth. However, if it’s excessively cloudy or separating, you might have boiled it too hard after adding the miso. Remember: gentle heat is key.
Can I make miso soup vegan?
Yes! Use kombu-based dashi (skip the bonito flakes) or vegetable broth with added kombu and dried mushrooms. Everything else in this recipe is already plant-based. This makes a perfect vegetarian miso soup that’s completely vegan-friendly.
What can I add to make miso soup more filling?
Transform this into a complete meal by adding cooked udon or soba noodles, more tofu, edamame, sweet potato cubes, or a soft-boiled egg. Some people add rice directly to their bowl for a comforting porridge-like consistency.
How do I know if my miso paste has gone bad?
Miso paste lasts for months (even years) in the refrigerator thanks to its high salt content. If it smells off, shows mold growth (a little white mold on top is actually okay and can be scraped off, but anything colorful is a no-go), or tastes unpleasantly sour, it’s time for a fresh container.
More Easy Japanese Recipes
- Japanese Mounjaro Recipe
- Japanese Dragon Sushi Rolls
- Easy Chocolate Bun Recipe (Japanese Milk Bread Buns)
Shop This Recipe



Authentic Japanese Miso Soup Recipe (味噌汁)
Ingredients
Method
- Fill a medium pot with 4 cups of cold water. Add kombu and let soak for 5 minutes. Place pot over medium heat and bring almost to a boil. Just before it reaches a rolling boil, remove the kombu. Add bonito flakes and immediately turn off heat. Let steep for 5 minutes. Strain the dashi through a fine-mesh sieve into a clean bowl.
- Place dried wakame in a small bowl and cover with cold water. Let sit for 5 minutes until fully rehydrated. Drain and rinse, then set aside.
- Cut tofu into ½-inch cubes and pat gently with paper towel if very wet. Slice green onions thinly, keeping white and green parts separate. If using mushrooms, slice thinly.
- Return strained dashi to the pot and bring to a gentle simmer over medium heat. Add tofu cubes and any mushrooms or vegetables. Let simmer gently for 2-3 minutes until heated through.
- Turn heat to low. Ladle out ½ cup of hot dashi into a small bowl. Add 3-4 tablespoons miso paste and whisk vigorously until completely dissolved. Pour miso mixture back into pot through a strainer and stir gently. Do not boil after adding miso.
- Add rehydrated wakame and green parts of scallions. Stir gently and let sit for 30 seconds. Remove from heat immediately. Ladle into bowls and serve hot.





2 Comments